This site contains affiliate links, view the disclosure for more information.
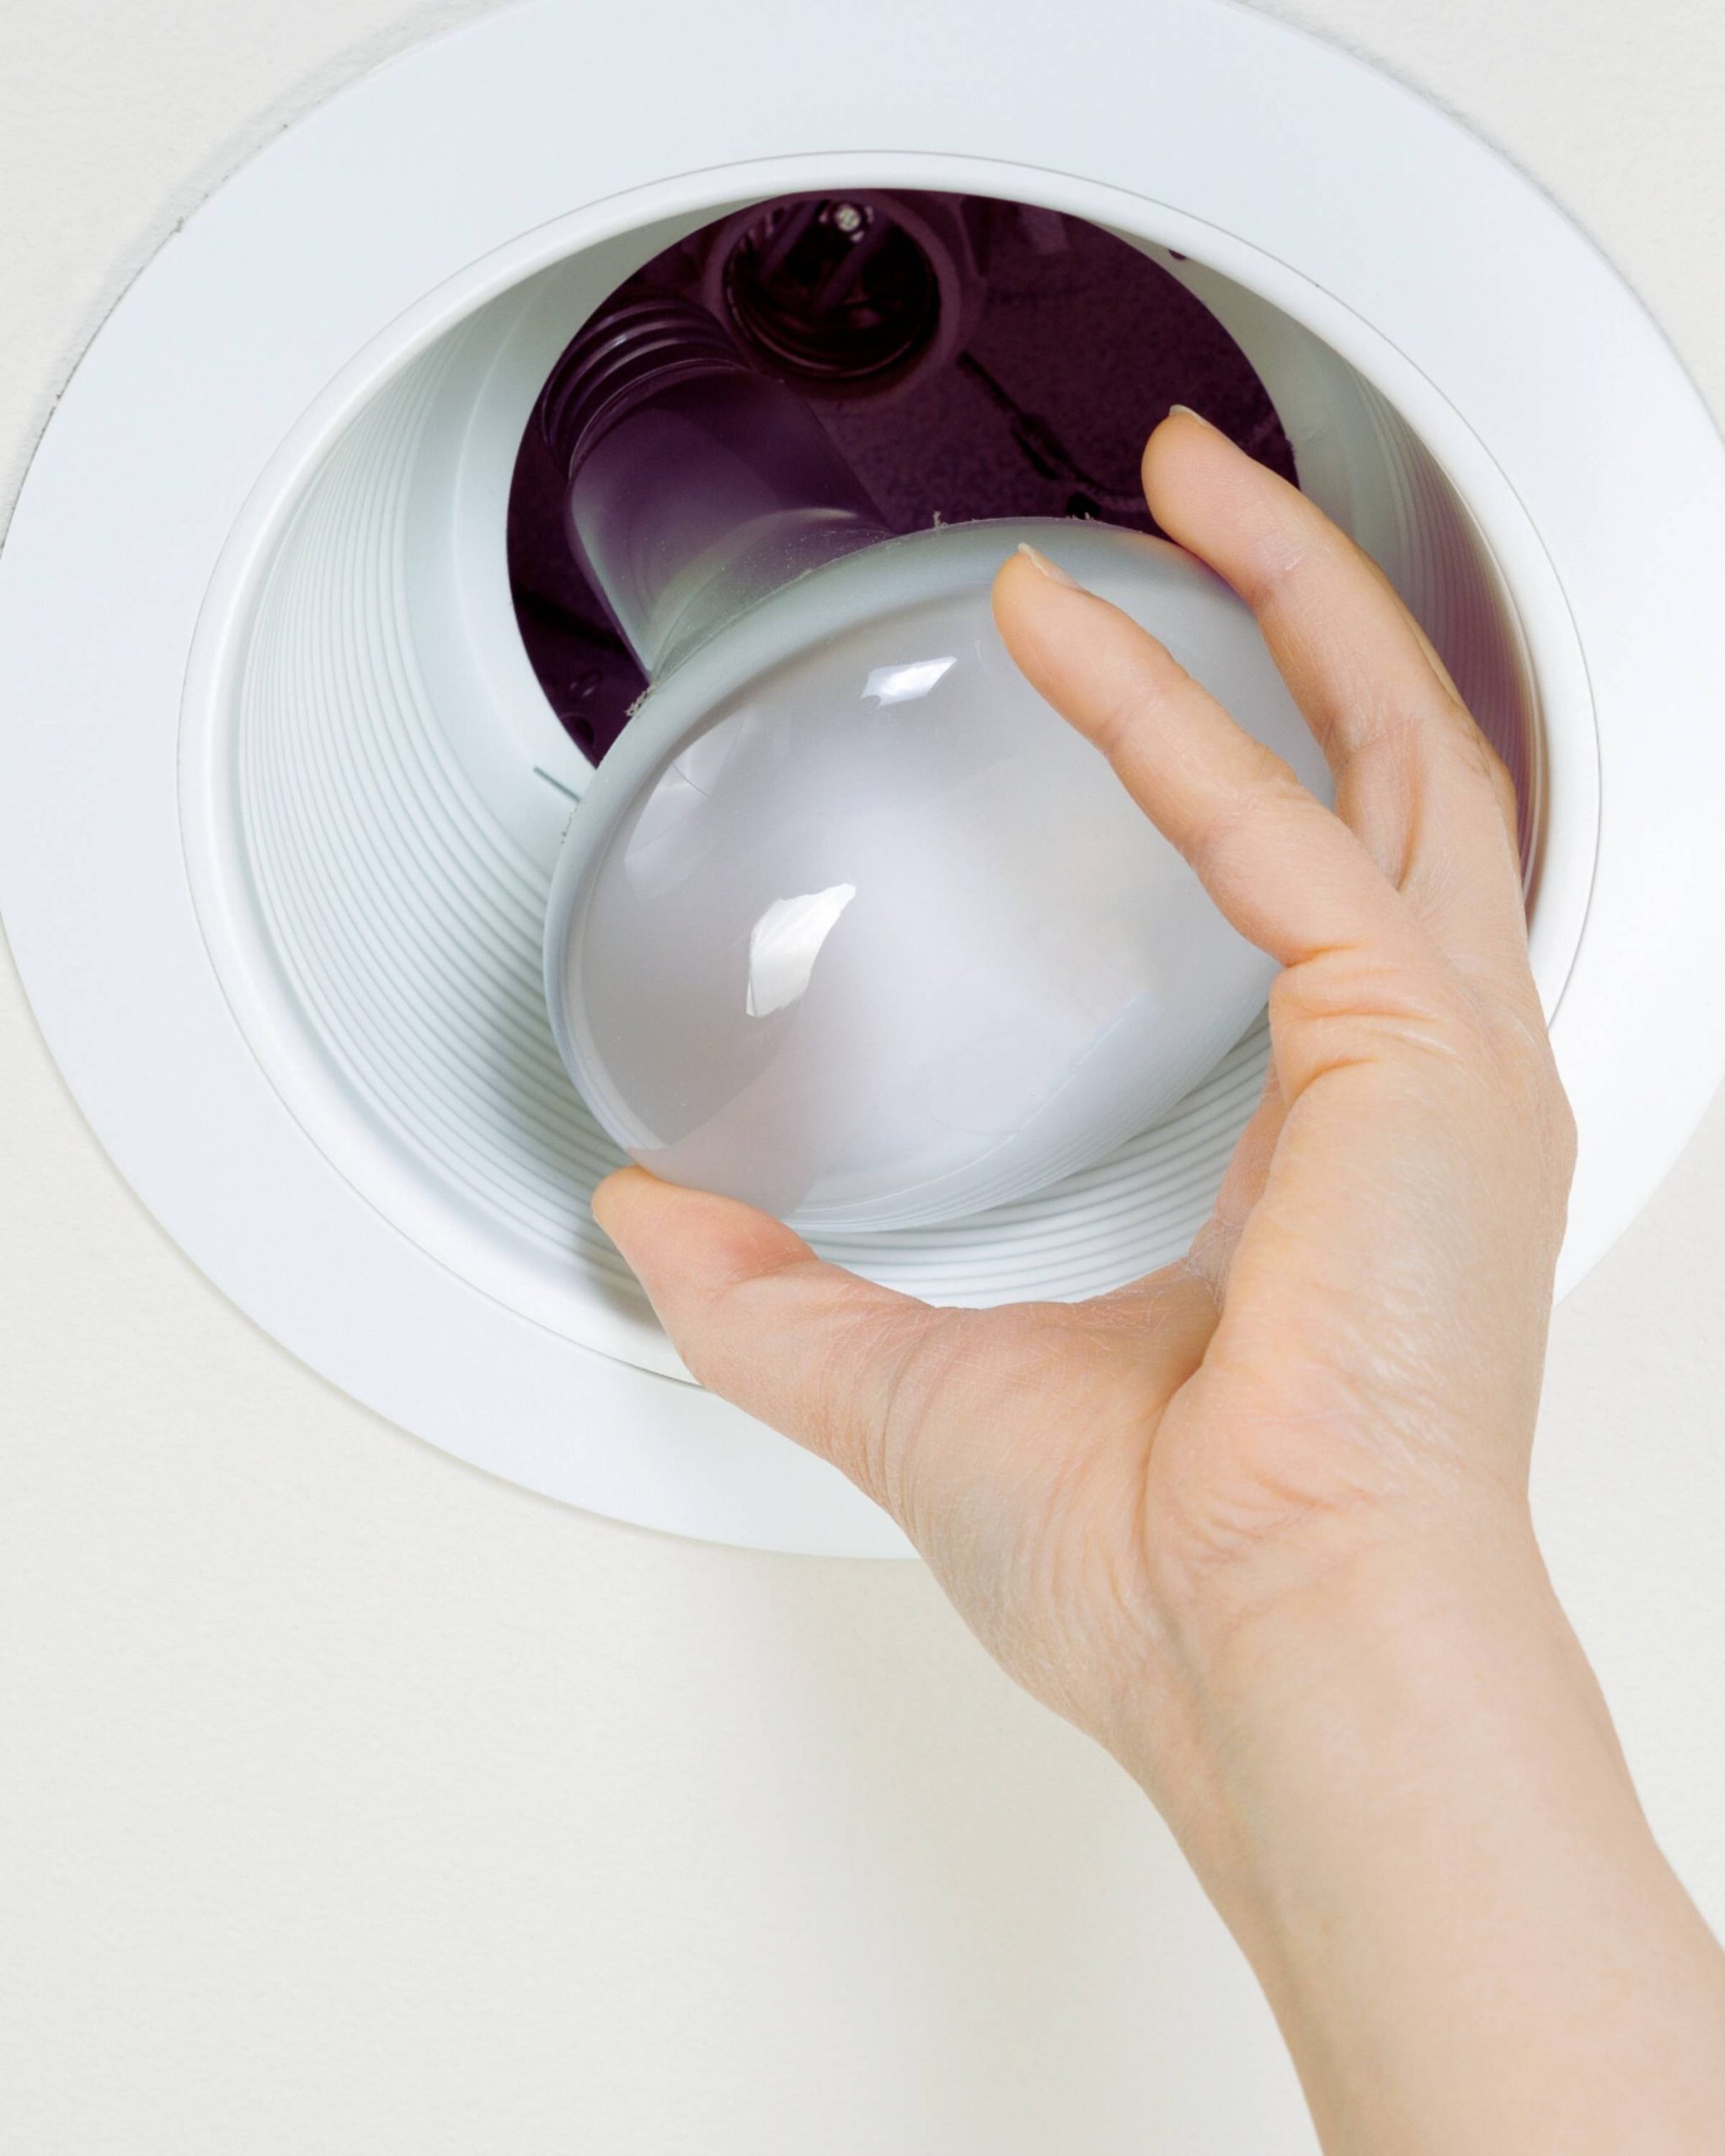
Do you have old can lights in your home that make your space feel dark or dated? Updating them doesn’t require a full renovation, drywall work, or even an electrician in many cases.
In this step-by-step guide, I’m sharing exactly how we updated our old recessed can lights with modern LED retrofit lights in under an hour. This simple upgrade instantly made our home brighter, more modern, and more energy-efficient, all without rewiring.
If you’re looking for an easy, high-impact update that makes a noticeable difference right away, this is one of the best places to start.
How to Update Old Can Lights with LED Recessed Lights
These LED recessed lights were a complete game-changer for our home. Our house was built in 1996 and seriously lacked good lighting. The only recessed lighting we had was in the kitchen, and it was installed in the most bizarre pattern.
The lighting felt extremely dull and yellow, which made the entire house feel dreary and uninviting. When we started updating our home in January of 2023, this was the very first project we tackled, and it ended up being one of the best decisions we’ve made so far.
My husband and I went to our local Lowe’s and found these LED retrofit recessed lights. What sold us immediately was how simple they were to install and how many lighting options they offered.
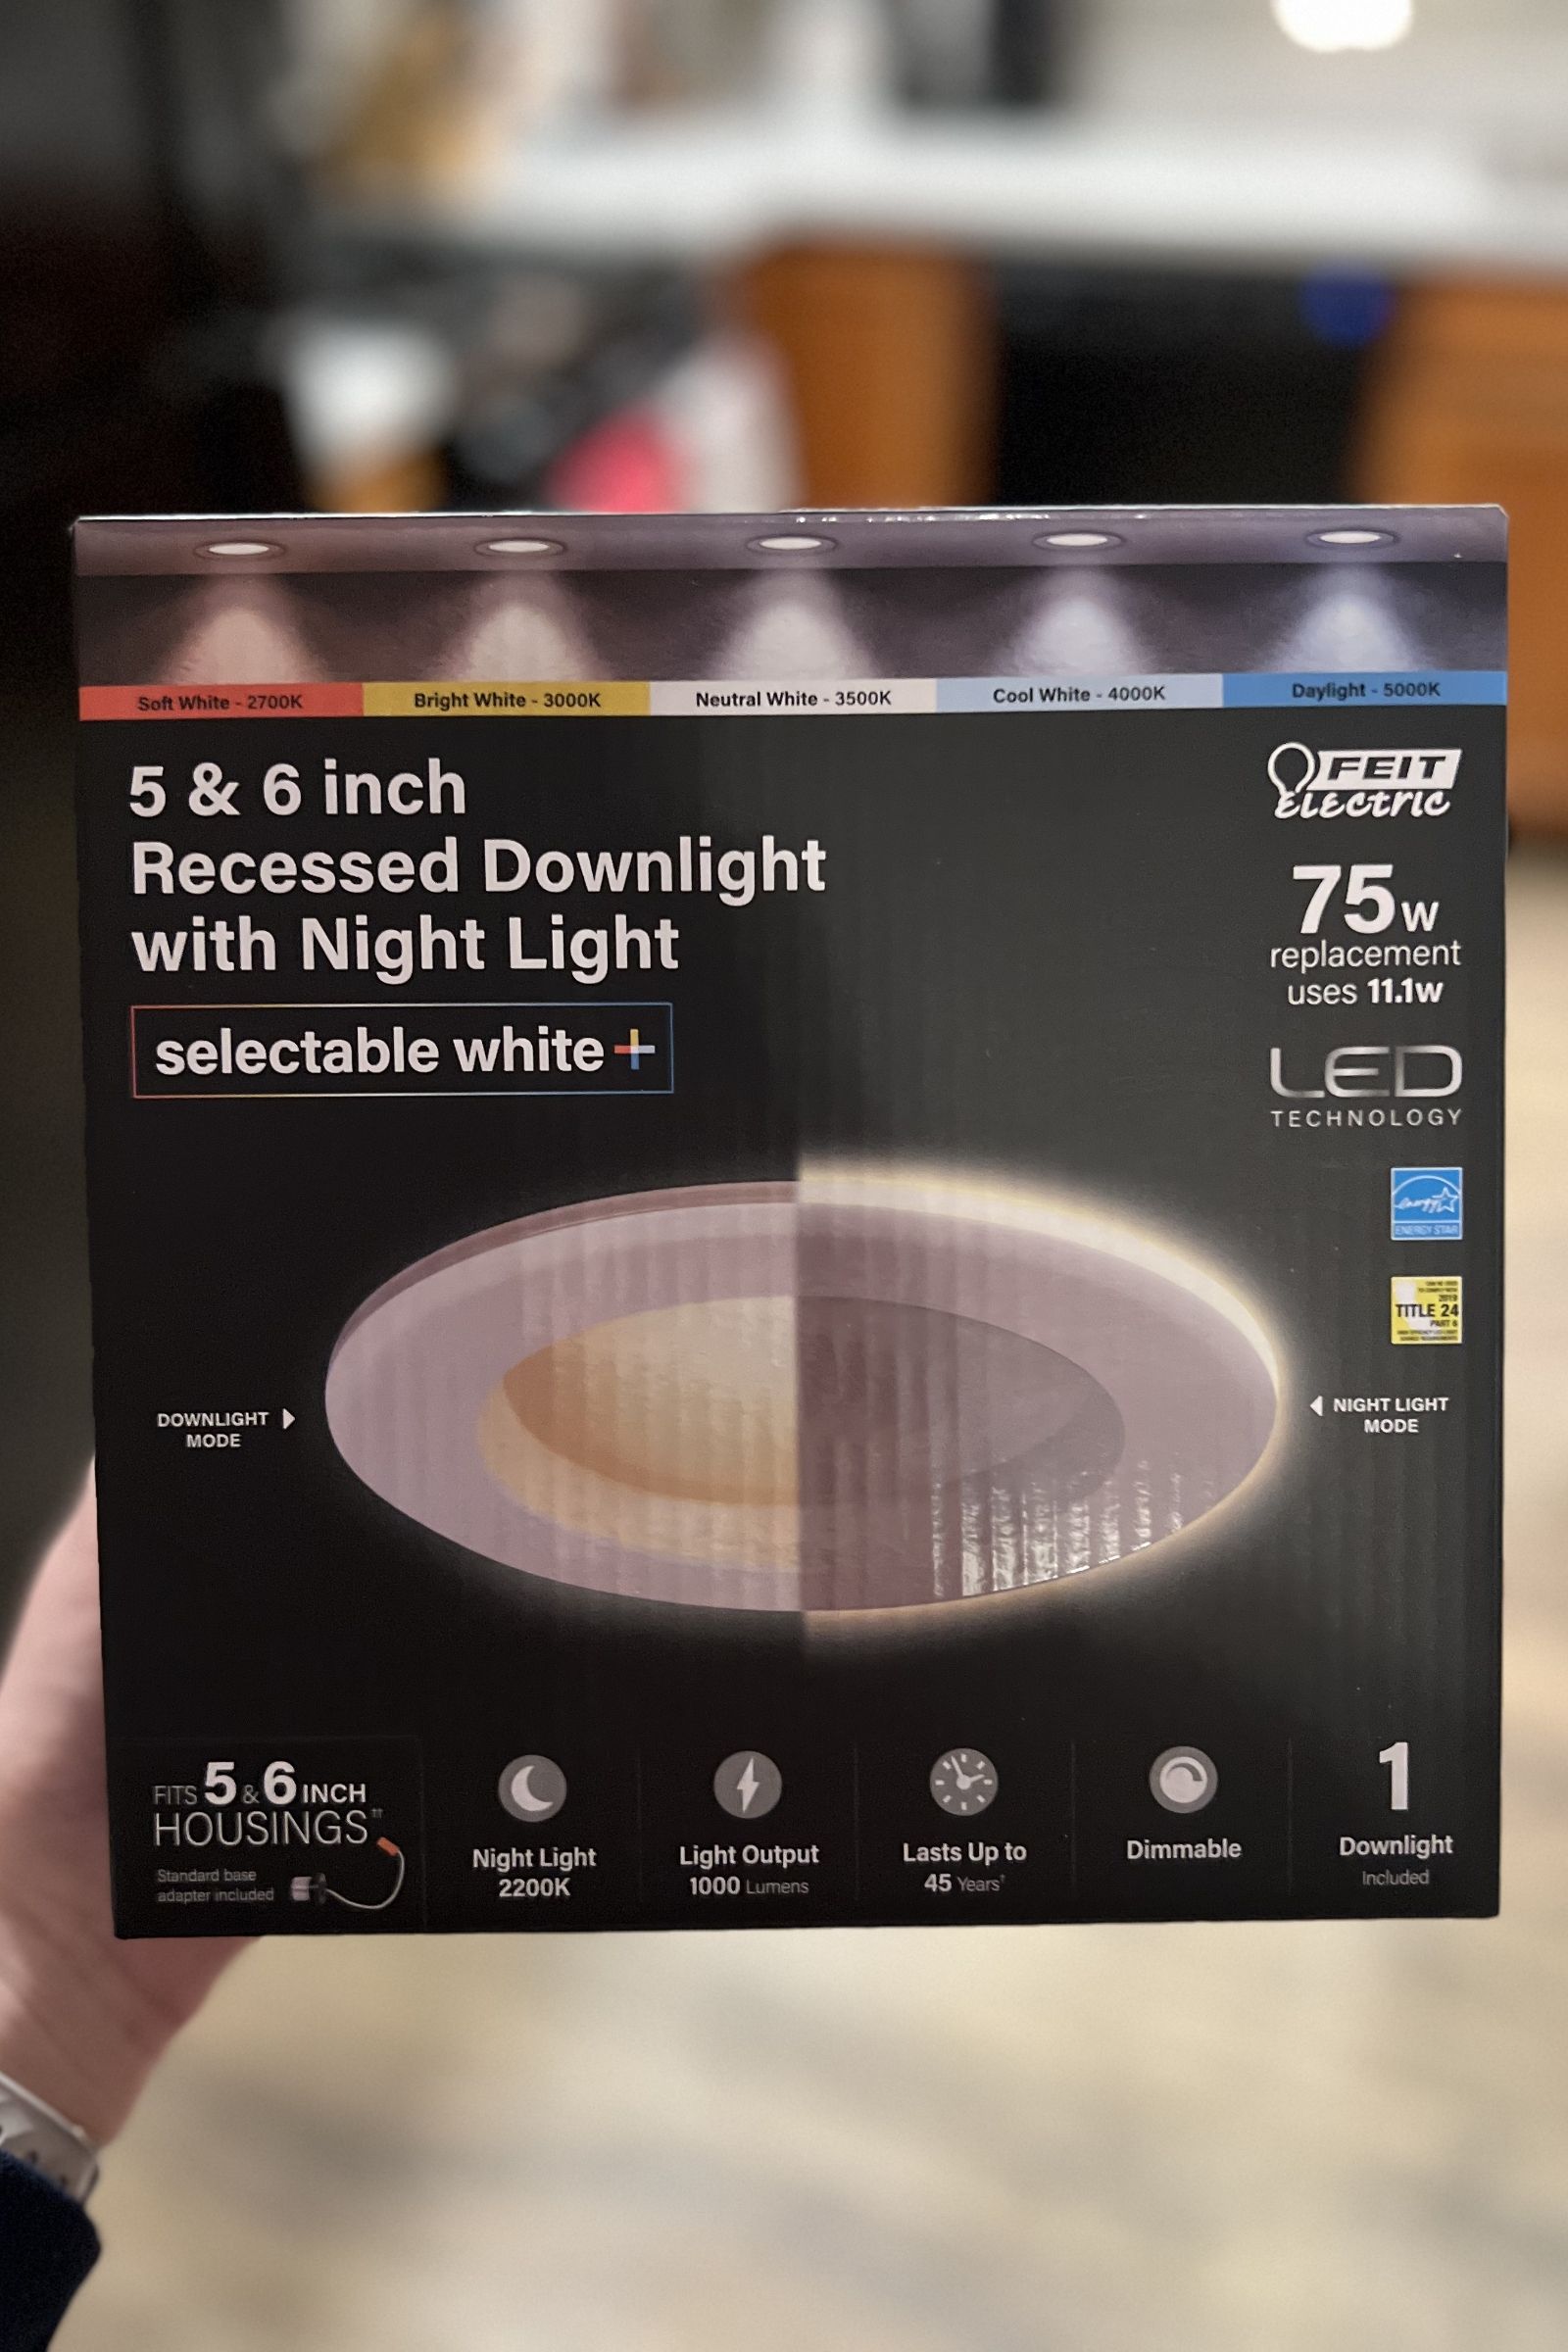
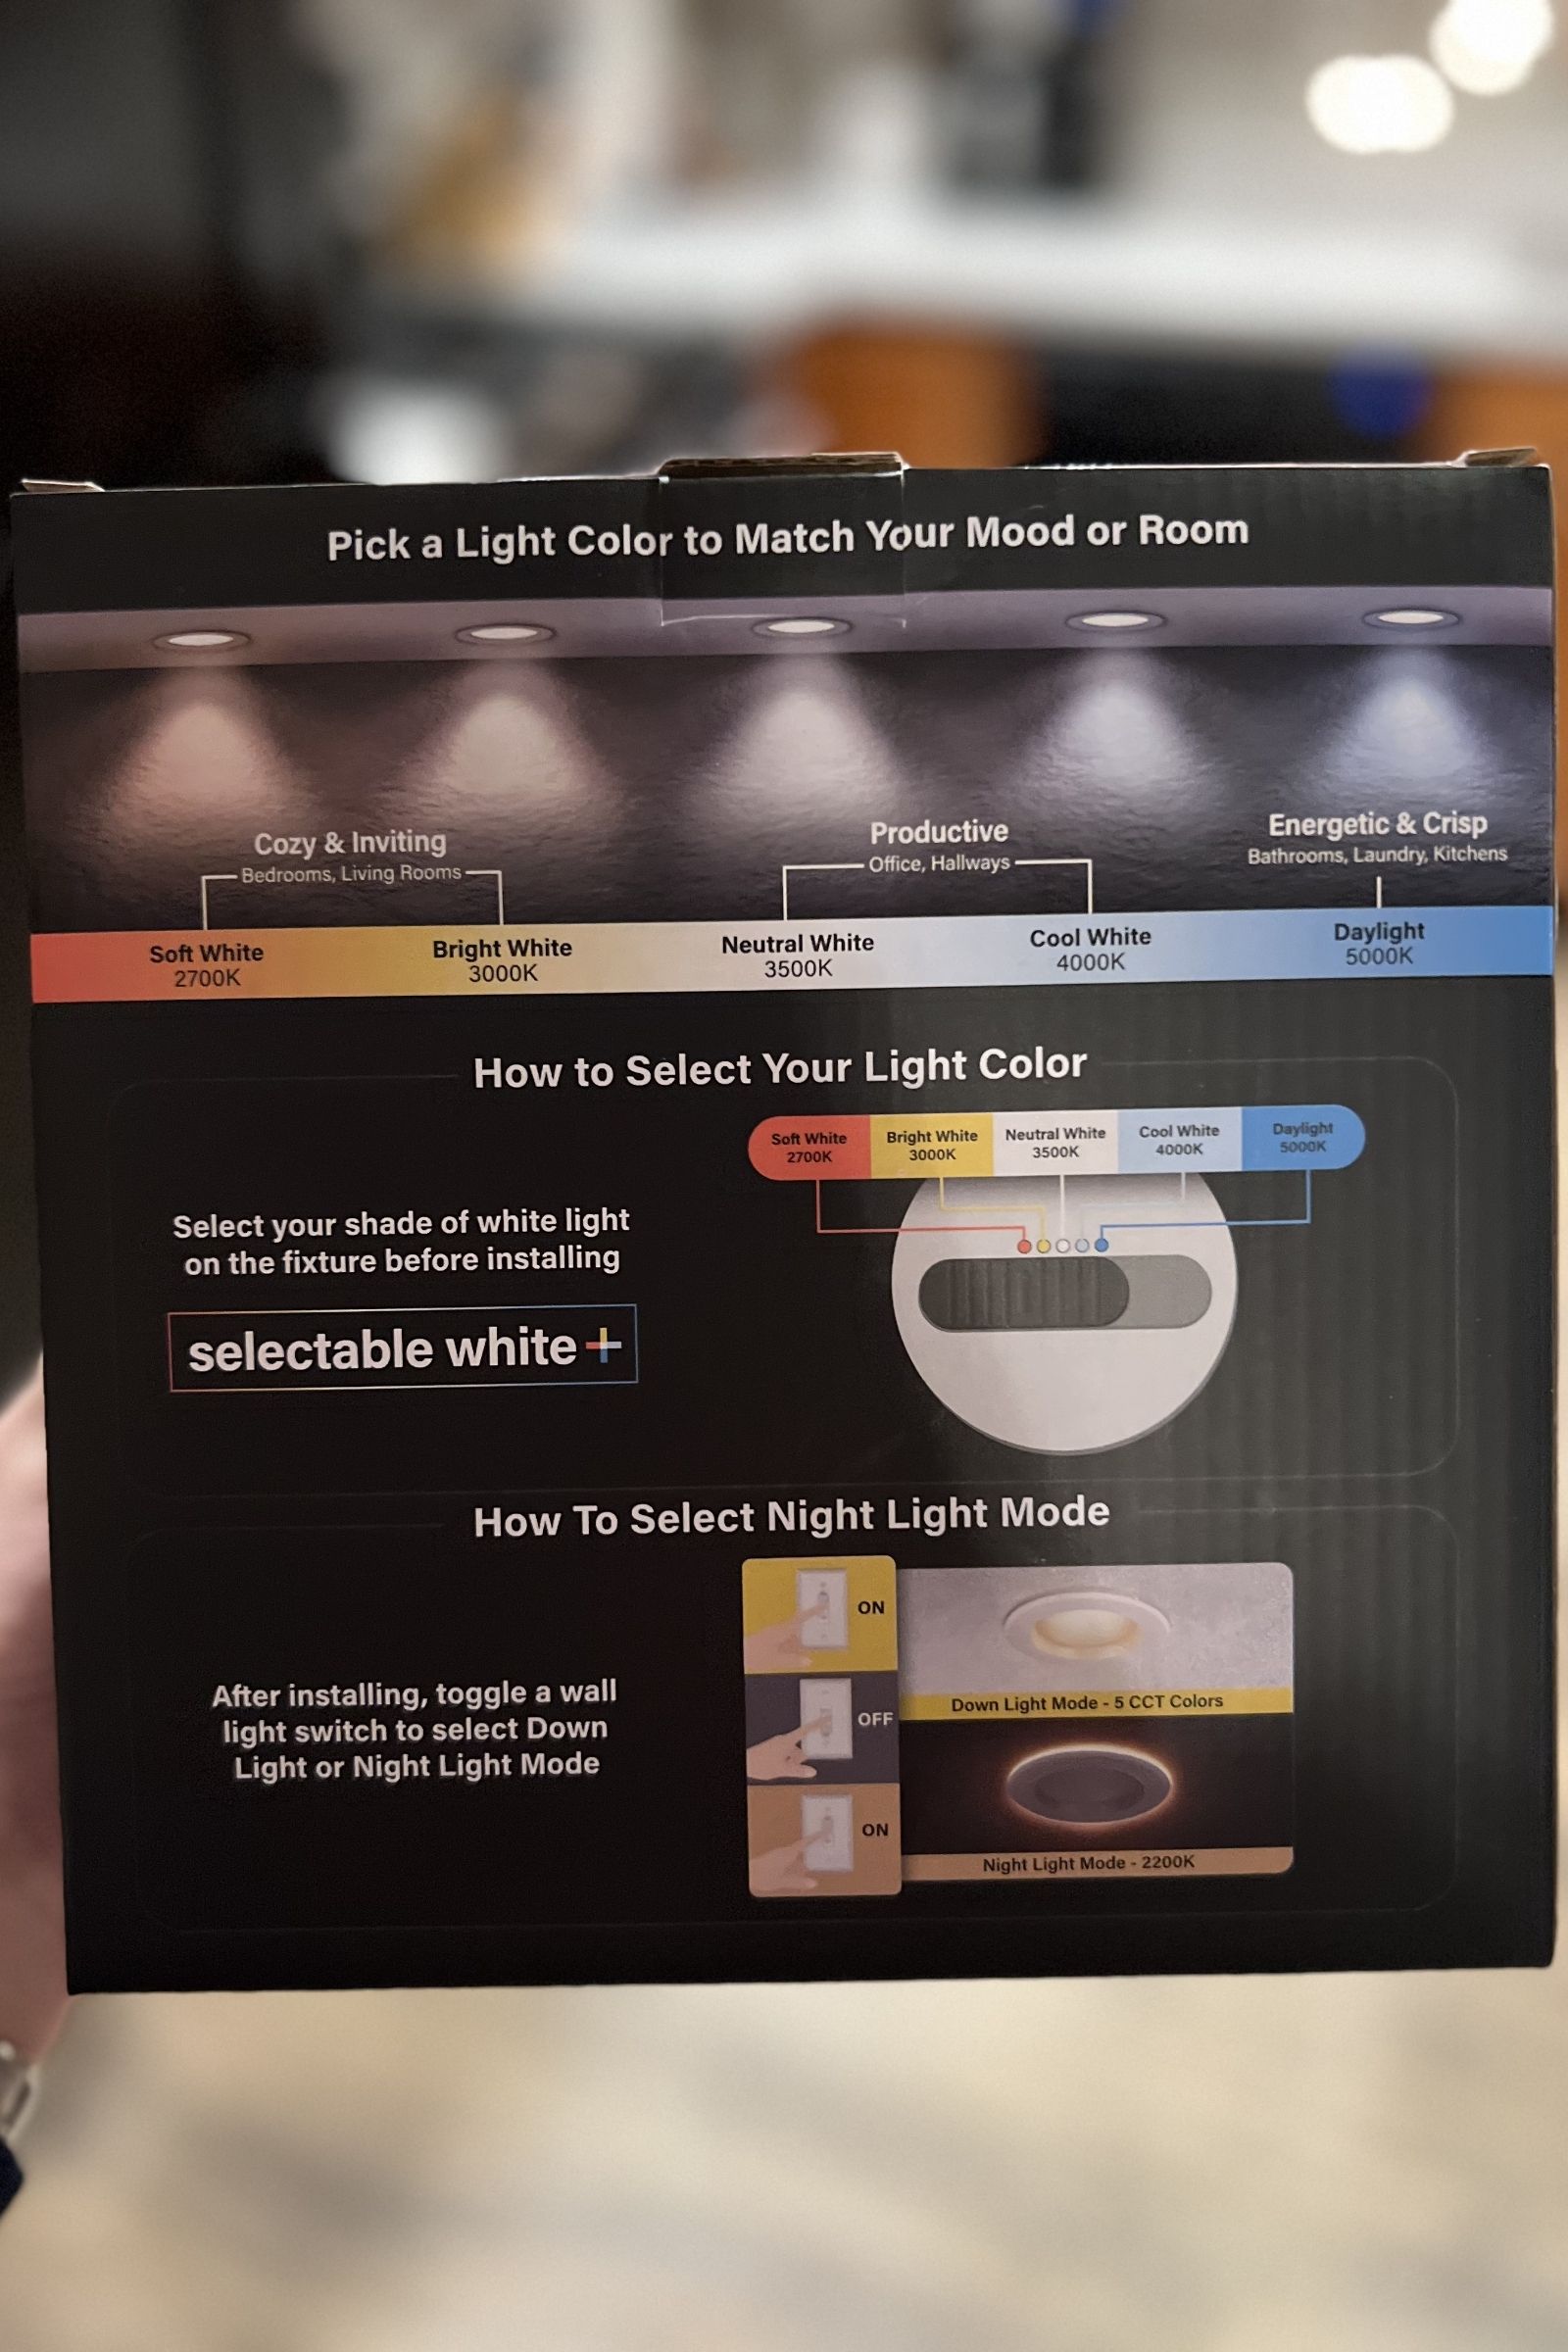
One of my favorite features of these lights is the ability to choose between five different light temperatures. The options include soft white, bright white, neutral white, cool white, and daylight.
Having this flexibility allows you to choose lighting that truly fits your space and lifestyle. Lighting plays a huge role in how a home feels, so being able to customize it makes a big difference.
We personally chose the bright white setting, but what I love most is that you’re not locked into one option.
These lights also include a built-in night light setting, which we use all the time. To activate it, simply toggle your wall switch off and back on quickly. The soft glow that appears is perfect for evenings, movie nights, or leaving a light on for pets without fully lighting the room.
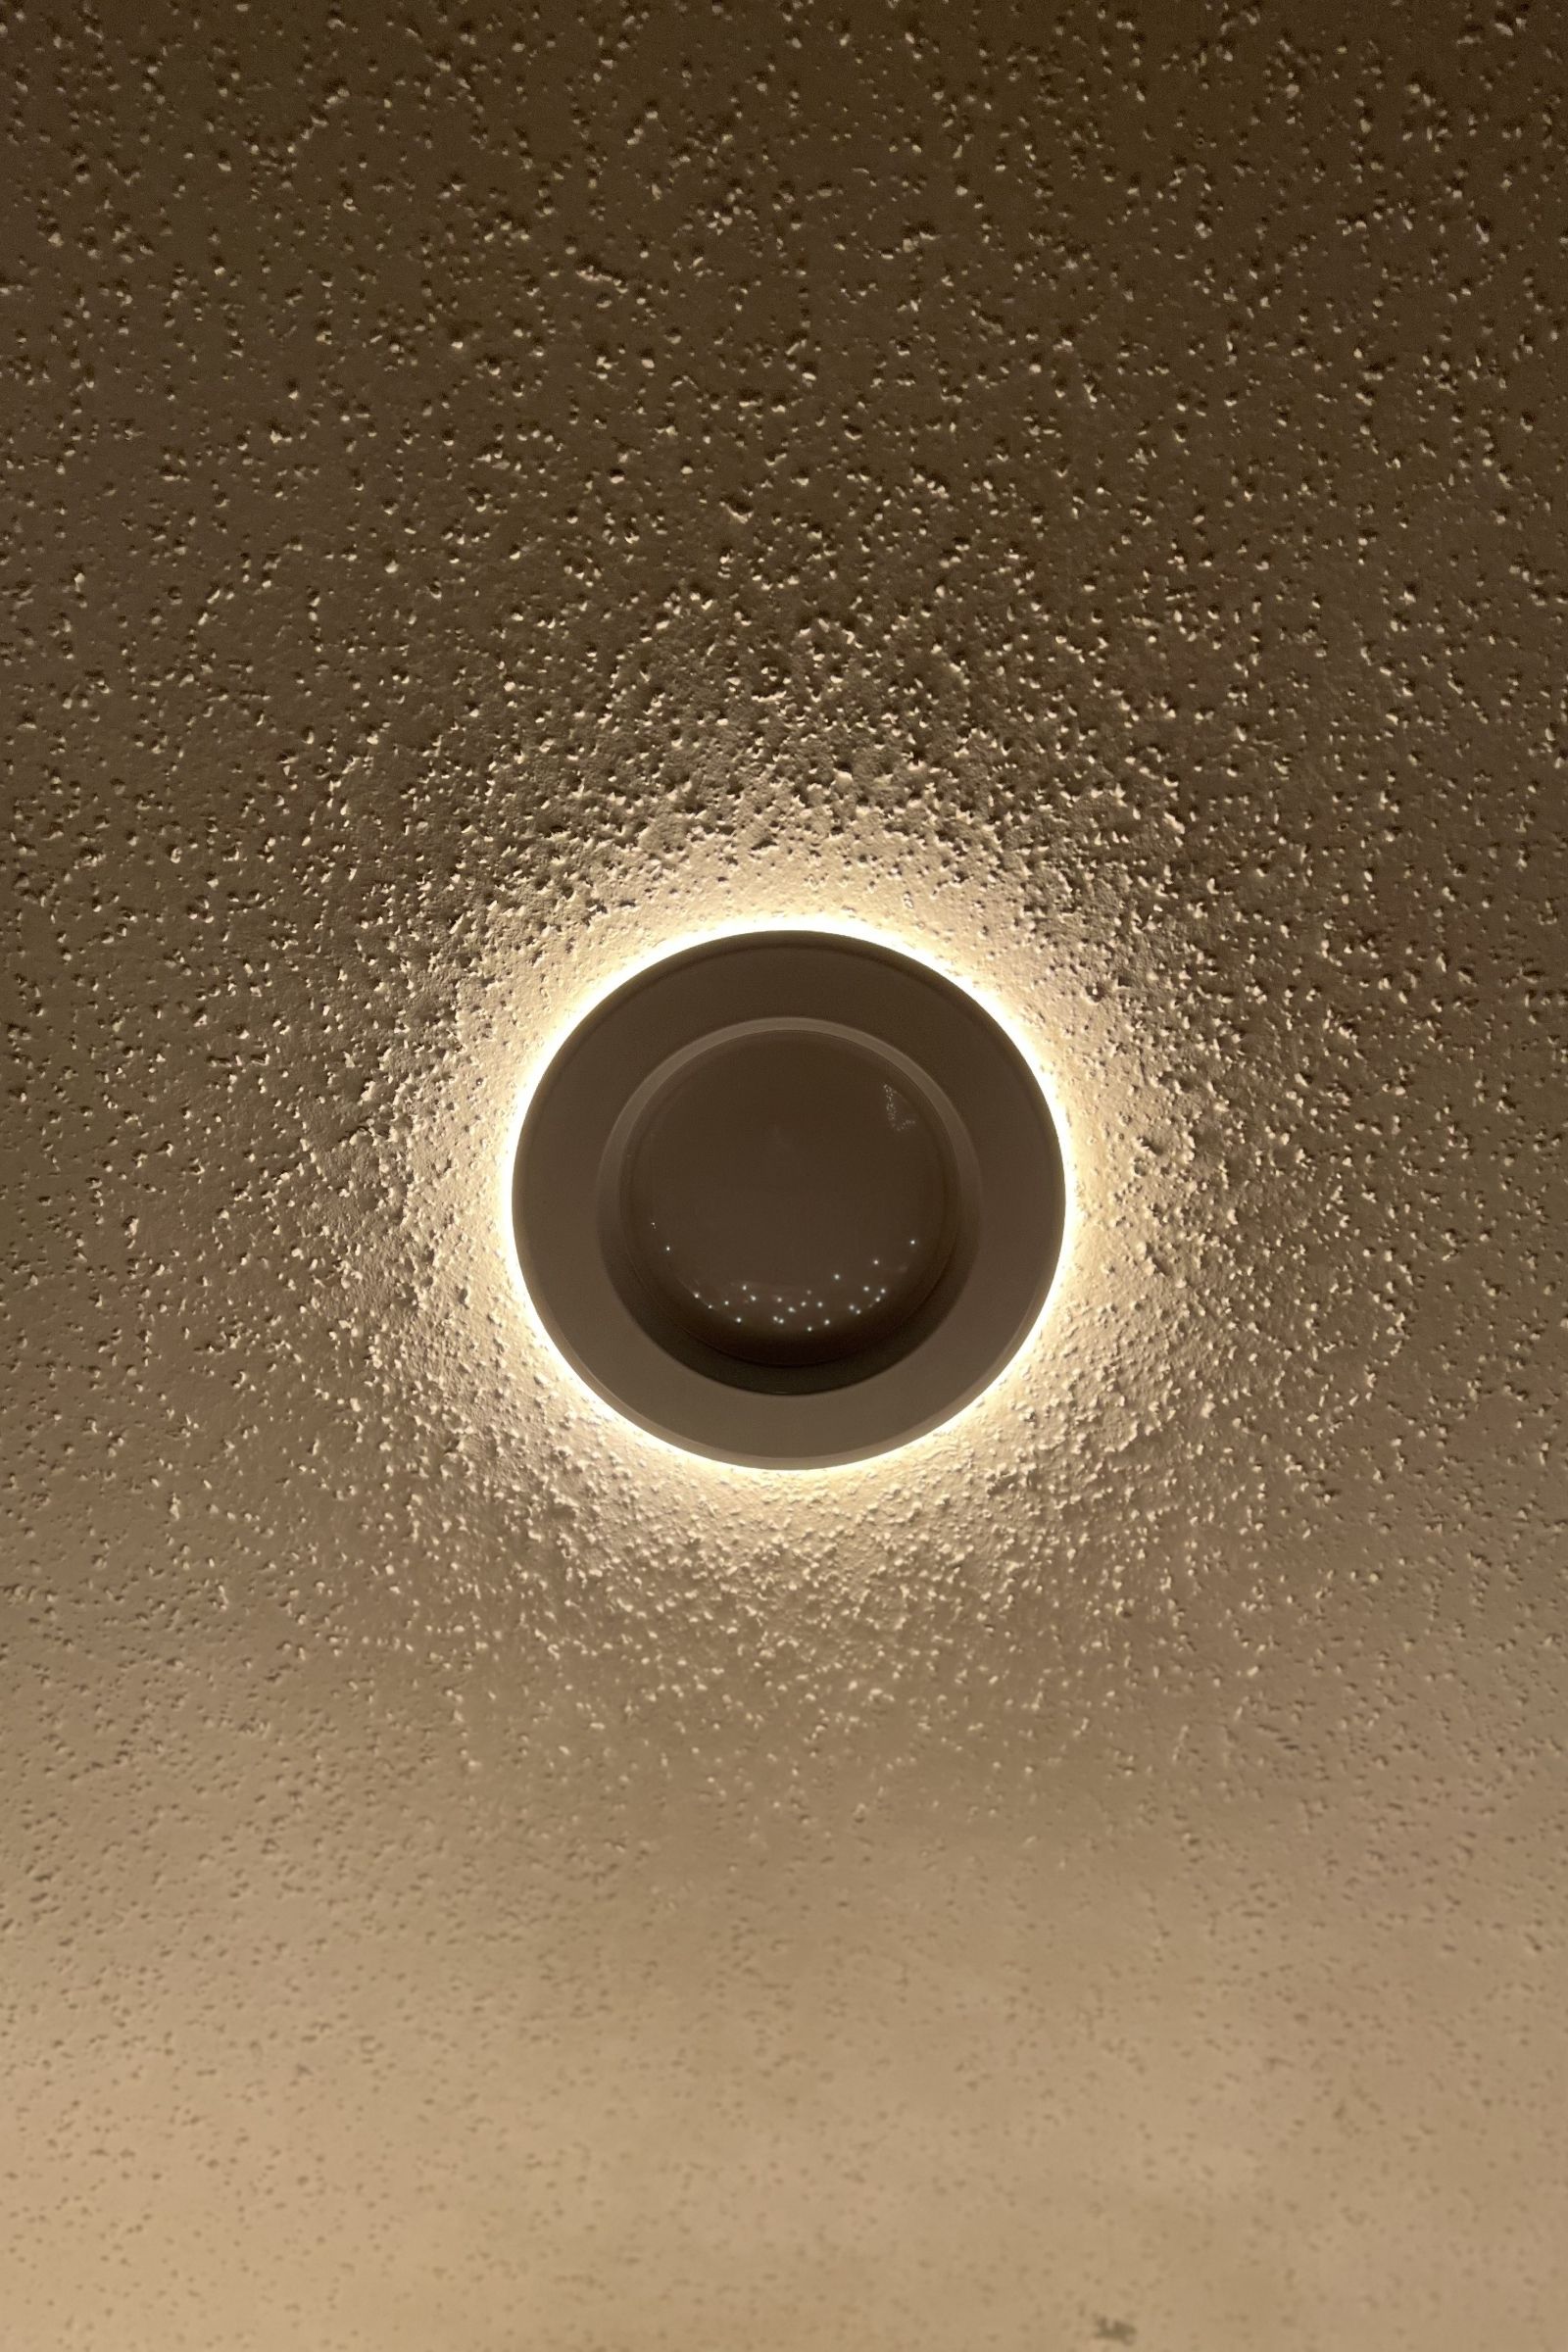
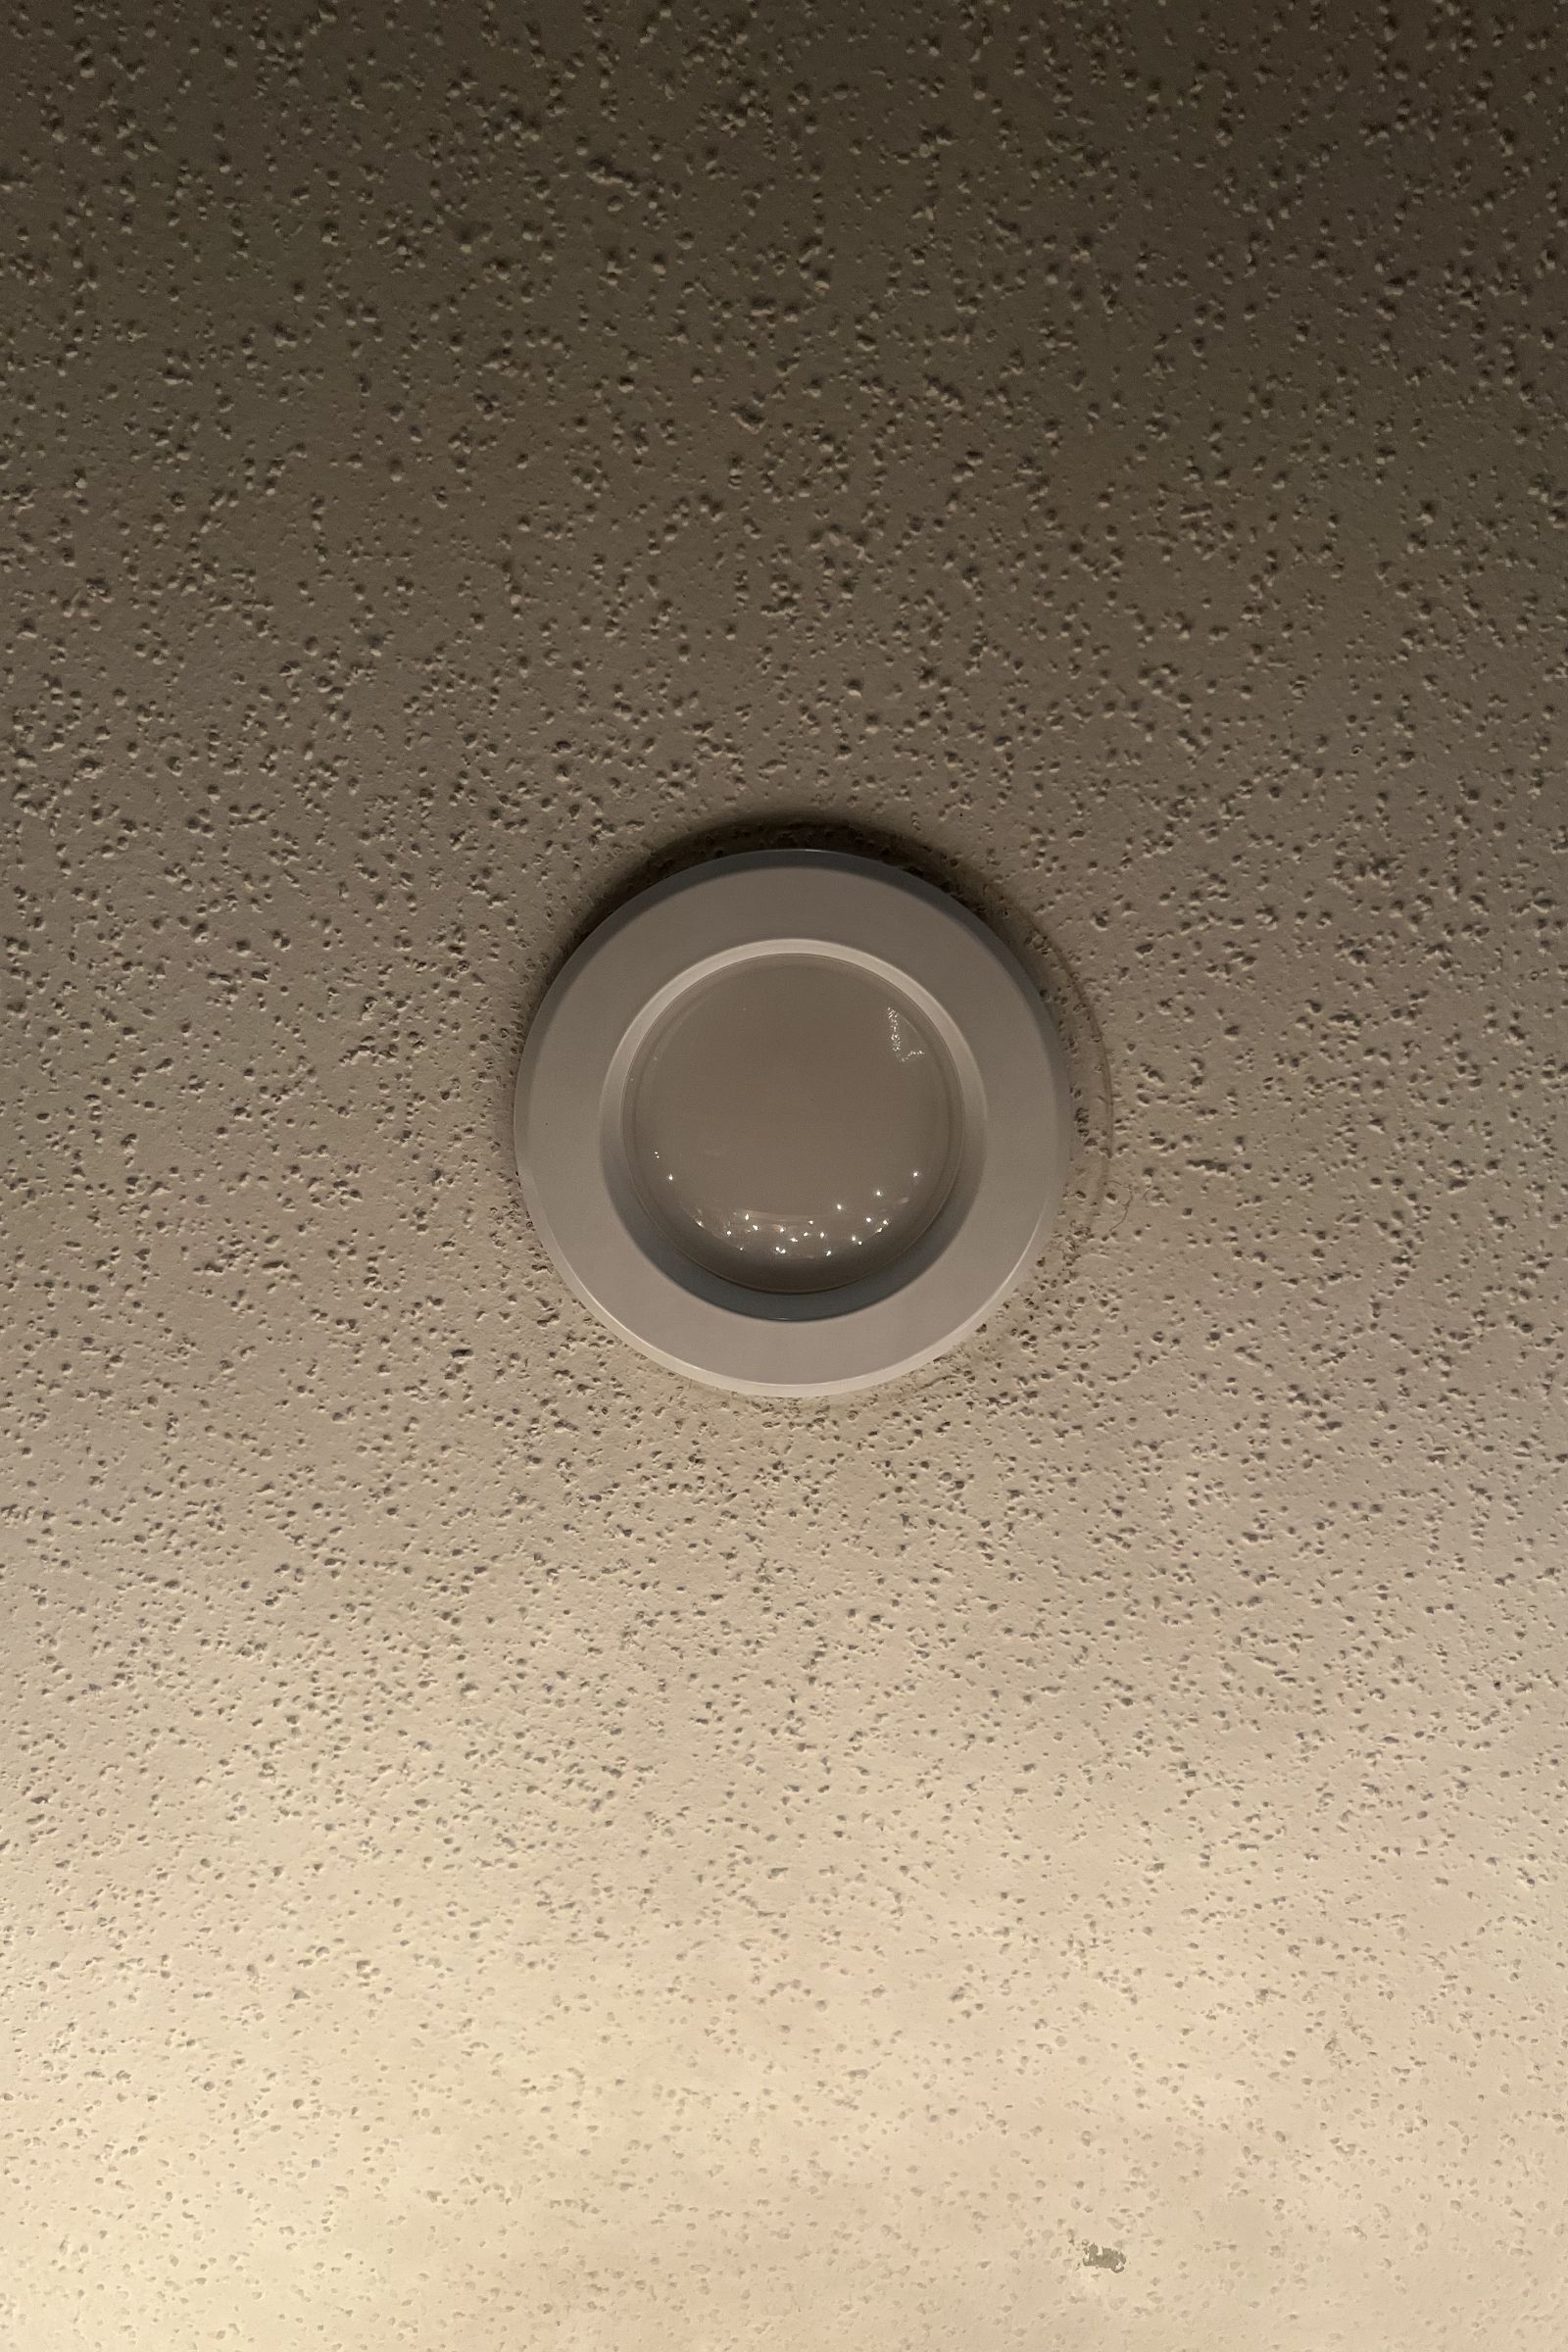
Designer Tip: How to Choose the Right LED Light Temperature
Choosing the right light temperature (measured in Kelvins) matters just as much as choosing the fixture itself. I always recommend testing your lighting at different times of day before committing to a setting.
Use these general guidelines:
- 2700K–3000K: warm and cozy (living rooms, bedrooms)
- 3500K–4000K: bright but soft (kitchens and workspaces)
- 5000K+: daylight (rarely recommended for most homes)
Lighting plays a huge role in how paint color reads on the wall, which is why it’s so important to consider undertones, materials, and room conditions together when choosing an interior paint color.
What You Need to Replace Old Can Lights (Tools & Materials)
These are the exact LED retrofit lights we used and loved. I’m linking them here in case you want to make this upgrade as easy as possible.
You’ll need:
That’s it! You truly don’t need much at all for this project.
Step-by-Step: How to Replace Old Can Lights with LED Retrofits
1. Remove the existing can lights
Before starting, turn off the lights at your electrical breaker. This is an important safety step anytime you’re working with electrical fixtures.
Once the power is off, unscrew the existing light bulb and gently remove the trim around it. This should pop off easily.
Next, remove the tray the bulb was sitting in. Inside the ceiling opening, you’ll find small clips. Squeeze them together and pull down to release the tray.
Make sure to remove any tabs or obstructions so the new light can sit properly inside the opening.
Safety note: Electrical work varies by home. If you’re uncomfortable working with fixtures or wiring, hiring a licensed electrician is always the safest option.
2. Attach the new LED light
The new lights come with a socket adapter that simply screws into the existing bulb base inside the ceiling. Once attached, the light will clip into place and sit flush against the ceiling.
3. Choose your light setting
Before installing all of the lights, adjust the light temperature switch located on the back of each fixture.
I highly recommend choosing your setting before installation; it’s much easier than adjusting them after everything is already in the ceiling.
4. Enjoy your Updated Lighting
Repeat the process for each light. Once everything is installed, turn the breaker back on and switch on your lights. The difference is immediate; brighter, cleaner, and far more modern.
You may notice a faint ring where the old trim sat if the new lights are slightly smaller. A damp washcloth easily removes any dust or residue.
This simple update made a world of difference in our home. Not only did it modernize the look of our ceilings, but it also made our kitchen and living spaces feel noticeably brighter and more inviting.
Updating old can lights to LED is one of the easiest ways to refresh your home without a renovation, and it’s a project you can absolutely do yourself.
Disclaimer: This guide is meant to help you understand a simple retrofit process. Always check local codes and consider professional help for electrical work. Licensed electricians bring training and insurance that protect you and your home.
Updating your lighting can completely change how your wall color looks, especially whites.
If your walls suddenly feel “off,” undertones are usually the reason. This guide includes my favorite tried-and-true white paint colors, the ones I come back to again and again because they work beautifully in most spaces.
More Interior Design Tips You May Enjoy:
5 Things To Keep In Mind When Choosing An Interior Paint Color