This site contains affiliate links, view the disclosure for more information.
This post is all about editing vs purging.
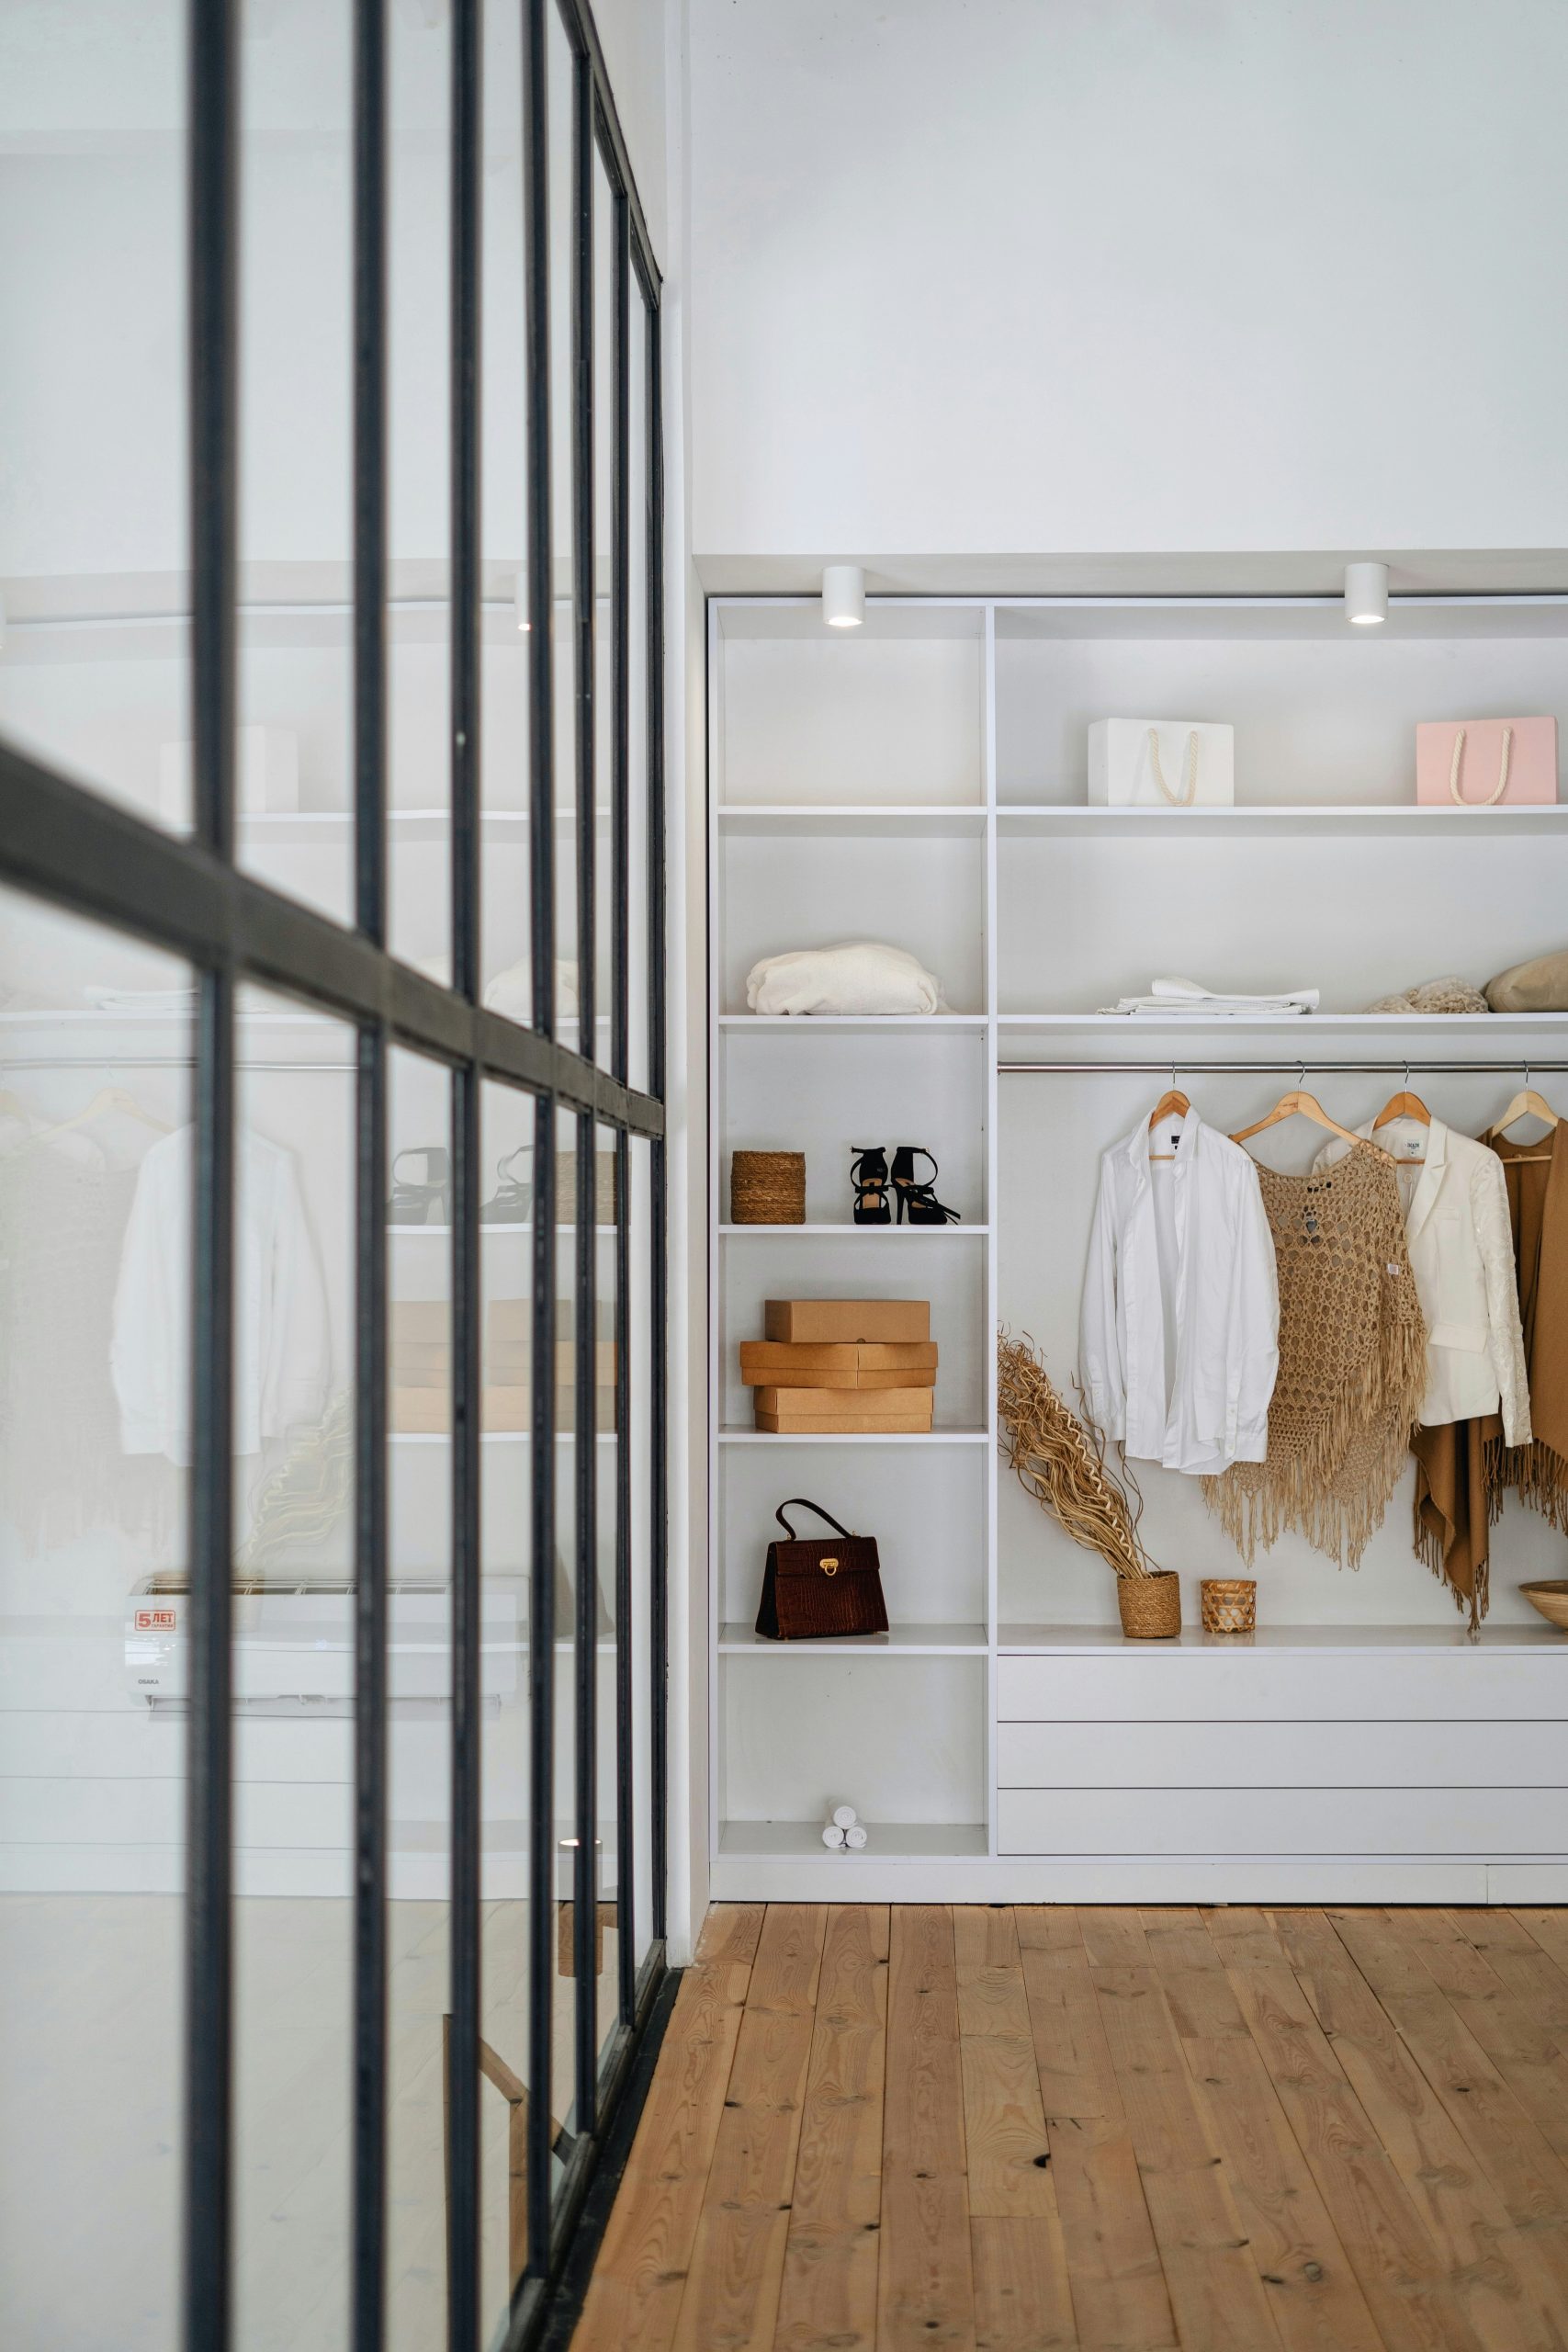
When it comes to getting our homes organized, it can feel incredibly overwhelming. You might feel frozen before you even begin, unsure where to start because there’s simply so much to look at and so much to do.
Instead of jumping straight into getting rid of things, I always recommend starting with editing first, followed by purging. Understanding the difference between the two can completely change the way you approach decluttering and help you move forward with clarity and confidence.
Organized homes allow for clearer minds, and we all need that.
Editing vs Purging: What’s The Difference?
Editing:
Editing is the process of thoughtfully analyzing what you already have. It’s about pulling items out, looking at them individually instead of as a whole, and asking yourself intentional questions like:
- Have I used this in the last year?
- Do I love this?
- Does this still serve me in this season of my life?
Editing is about creating a visual inventory and giving each item real consideration before deciding what to let go of. It’s a curation process of deciding what stays and what no longer belongs.
As designers, we are always editing spaces before we add anything new. When I work with clients, one of the first things I ask is whether there are items they love or want incorporated into their space. Oftentimes, these are sentimental pieces or things they’ve invested in over time.
There’s no reason to get rid of everything and start over when you can work with what you already have. Sometimes it just takes creativity, rearranging, and thoughtful planning, and that’s where the designer mindset comes in.
Editing brings clarity. It slows the process down and makes decision-making feel easier and less emotional.
Purging:
Purging is the act of letting things go. It’s the step where you release what no longer serves you.
Purging doesn’t have to be scary or extreme, and that’s exactly why editing first is so important. When you’ve already taken the time to thoughtfully edit, purging becomes much more supportive and intentional.
And purging doesn’t always mean donating or selling something immediately. If it’s an item you love but don’t need right now, it’s okay to store it thoughtfully and revisit it later.
I know how overwhelming it can feel to think you need to get rid of everything. That pressure often sends us straight into panic mode, which makes it hard to think clearly or make good decisions.
Taking a pause, making mental notes of what works and what doesn’t, and creating a simple game plan allows you to move forward with intention. That plan helps you decide what to keep, how to store it, and what organization systems actually make sense for your home.
Why Designers Always Edit First
Editing first allows the home to tell you what it needs.
As interior designers, we approach homes as systems, not just rooms. Function and flow are always the foundation of good design. Without them, nothing else works.
Think about how you move through your home. Are there areas where doors bump into each other? Closets that are too deep to function well? Spaces that technically exist but don’t work for how you live?
These are things designers think about constantly. When designing a home, we ask how each space is used, where frustrations exist, and what could work better.
That’s where editing comes in. We assess what’s working, what’s not, and what we’re dealing with before making changes. This step is what prevents wasted time, money, and unnecessary purchases.
I can’t tell you how many times I’ve seen people buy bins and storage systems without a plan, only to get home and realize they don’t fit the space or don’t work for the items they’re meant to store. Then it’s another trip to the store, more frustration, and more wasted time.
Editing allows you to make smarter decisions. You figure out what’s staying, analyze the space it’s going in, measure properly, and then buy what you actually need. It’s more work upfront, but it saves so much time and stress later.
The Designer’s Step-by-Step Decluttering Method
Step 1: Edit
Before getting rid of anything, start with editing. Choose one room, and within that room, focus on one small area like a shelf, a bin, or a cabinet. Narrowing your focus helps reduce overwhelm and makes the process feel more manageable.
As you go through each item, ask yourself:
- Does this belong in this season of my life?
- Do I use this?
- Do I love this?
Based on your answers, begin creating simple piles:
Keep · Donate · Sell · Store
Editing is about slowing down and making thoughtful decisions before anything leaves your home.
Step 2: Purge
Once you’ve edited and created your piles, it’s time to let go with intention, not urgency.
Donate, recycle, toss, or release items without guilt. Because you’ve already edited thoughtfully, you’re not getting rid of things just to get rid of them, you’re making intentional choices that support your home and your life.
This step should feel supportive, not stressful.
Step 3: Choose storage that fits what’s left
Now that you know exactly what you’re keeping, it’s time to find everything a home.
Before buying any storage, measure the space you’re organizing. If it’s a shelf, measure the width, height, and depth. This step is key and ensures whatever storage you choose actually fits and works with your space.
Pay attention to the type and size of storage you’re using, too. For example:
- Larger bins may work best for photo albums or off-season linens
- Smaller bins are better for everyday items you access often
Choosing storage this way helps create simple systems you can reuse and maintain, while also preventing overbuying or buying the wrong things. And who doesn’t love saving time and money?
Step 4: Organize
Now it’s time to organize.
With your storage systems ready, think about how you use each item. Items you reach for often should be easy to access and placed toward the front. Items you use less frequently can be stored toward the back or higher up.
Be sure to leave breathing room. Not every shelf or bin needs to be filled. Empty space is a good thing and helps keep systems flexible.
And finally, label everything. Labels remove guesswork and make it easy to maintain organization without pulling everything out to see what’s inside.
Common Decluttering Mistakes (And How to Avoid Them)
Expecting perfection
Nothing is ever going to be perfect, and that’s okay. If we expect perfection, we’ll always feel disappointed. Progress is far more important.
Buying bins before editing
This is a big no-no. Buying storage without a plan only creates more overwhelm. Measure your space, edit first, then shop with intention.
Trying to do everything in one day
Rome wasn’t built in a day, and neither was your storage room. Start small and go from there. Break down each space or room in your home that needs some love, and start at the top and work your way down to the bottom.
Focusing on one area at a time will give you a better outcome because you are giving it more love and thought and being intentional about it.
Trying to do everything all at once will make you feel overwhelmed, and you might make choices you later regret. It’s best to be thoughtful and take your time. I know that it is hard when you just want a clean and organized space. And I know it can be so time-consuming, but if you do it now, you will save yourself so much time for your future self.
Progress is better than perfection.
Organizing clutter instead of removing it
Don’t just organize the clutter you have. Remove it. Purge what you don’t want or need, and thoughtfully edit what you want to keep. Then organize.
If you keep organizing and reorganizing items you don’t need, you’ll always feel stuck in the same cycle.
Editing creates a calmer home and a calmer mind more than you’d expect. When your home is intentional and supported by simple systems, it becomes a place you can truly relax in at the end of the day.
Now that you know how to approach decluttering like a designer, and why this method makes the process feel clearer and far less overwhelming, I encourage you to put it into action. Start small with one room, one drawer, or even one bin, and follow these steps at your own pace.
Here’s to thoughtfully curated, organized spaces!
This post was all about editing vs purging.
If you loved these ideas, subscribe to my weekly newsletter to get more interior design inspiration and tips straight to your inbox.
If you loved this blog post, be sure to check out these related posts:
Designer Tips For Resetting Your Home After The Holidays
5 Things You Can Do To Keep Your Home Tidy