This site contains affiliate links, view the disclosure for more information.
This post is all about crafting a DIY doormat for fall.

Welcome fall into your home this season with a handcrafted DIY doormat!
Making DIY doormats is fun, simple, and easy. Even if you wouldn’t qualify yourself as a crafty person, this project is so simple that anyone can do it.
I’m going to walk you through everything you need to know with easy step-by-step instructions on how to make the doormat, everything you will need to make it, and I will provide you with some inspiration to style your finished DIY doormat this fall that includes product links to create a similar look of your own.
Now, let’s get to crafting!
Follow This Step-By-Step Guide To Create A Welcoming DIY Doormat This Fall Season
1. collect Your Supplies
First things first, you need to collect all the supplies for this DIY project. You really don’t need a whole lot to make one, which makes this craft simple and inexpensive.
Here is what you’ll need:
Doormat
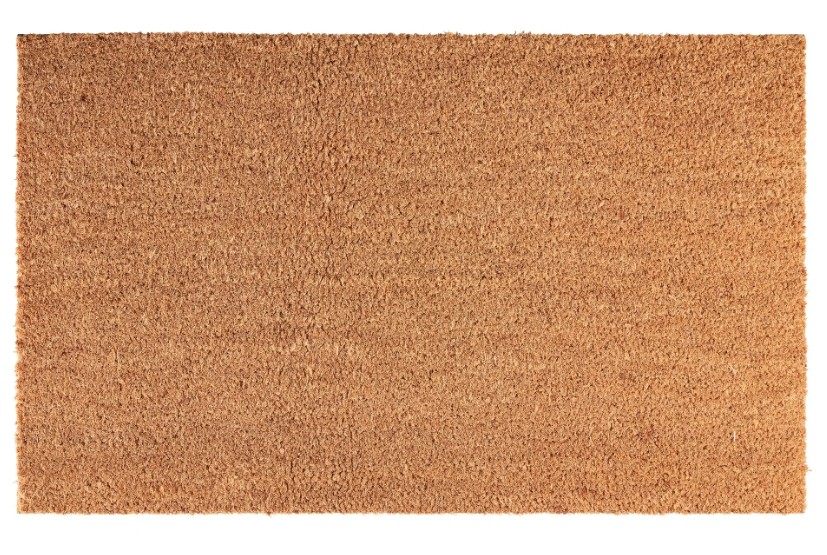
The most obvious thing you will need is a plain doormat like this one. This one is from Walmart and is extremely affordable.
Stencils
If freehanding isn’t your thing, stencils will be your best friend. You can find letters, shapes, and designs galore at Hobby Lobby, Michaels, or Etsy. Etsy even has shops that will personalize stencils and make them for you.
Here are some letter stencils from Hobby Lobby to show you an example:

Paint
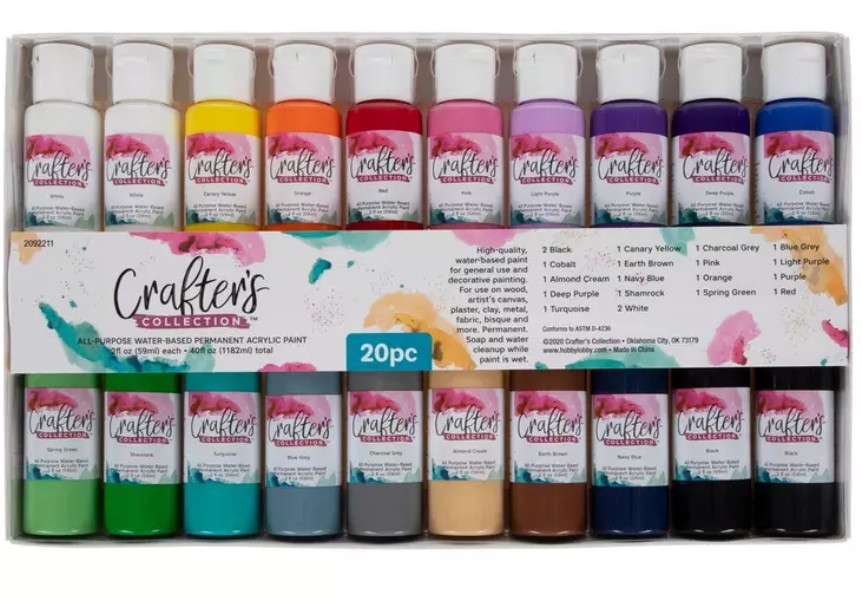
For paint, you don’t need anything fancy. Any acrylic paint will work great. I recommend purchasing the larger bottles, because you will use a lot more paint than you would think. The mat’s material really soaks it up.
You can get paint from any craft store like Michaels or Hobby Lobby.
Here is the paint I used from Hobby Lobby, and it worked great. This is their variety pack to show you all the colors, but they also sell larger bottles of each color, which is what I would recommend getting.
Paint Brushes and Paint Sponges
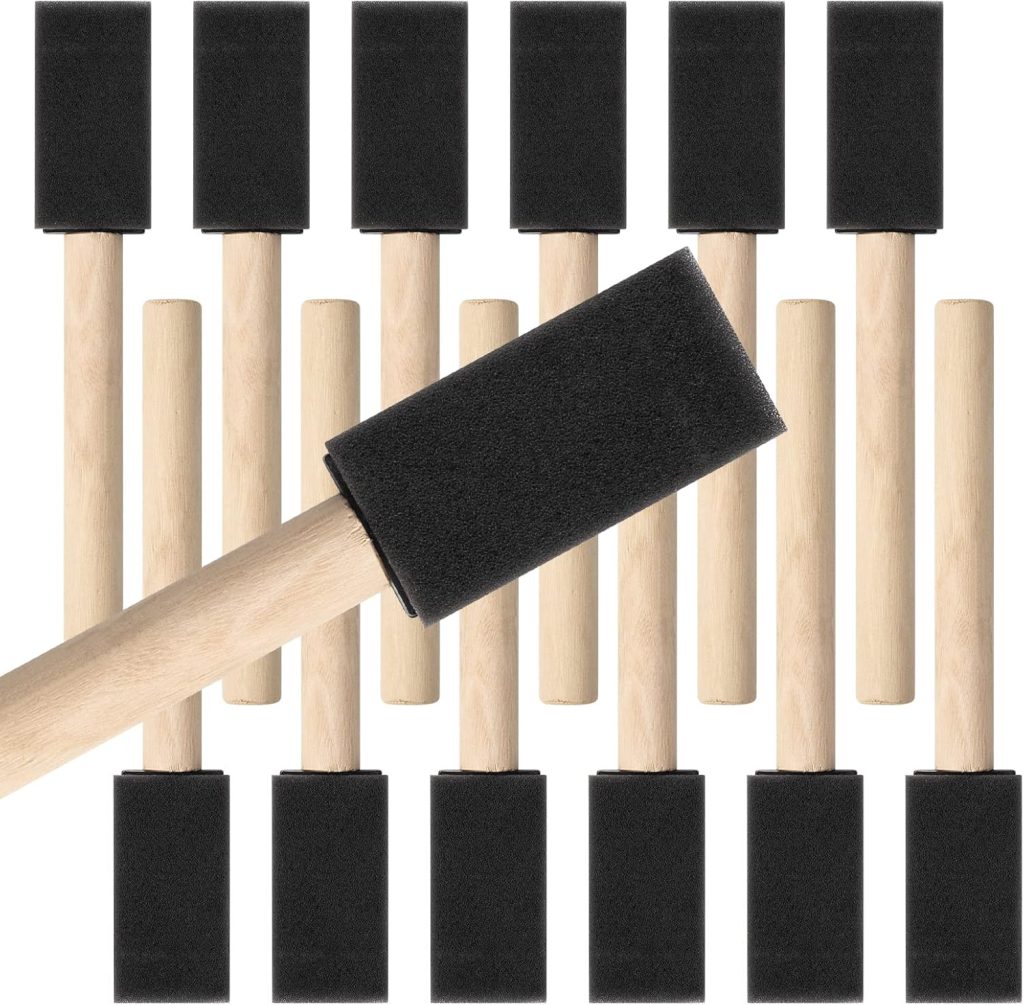
You will need paint brushes and paint sponges for your DIY doormat. I recommend getting a variety of sizes for paint brushes. I also recommend paint sponges because you will be dabbing the paint onto the mat.
The paint brushes are great for outlining and lettering, and the sponges are perfect for filling in larger spaces using the dabbing technique. Again, you can find these at any craft supply store.
Here are some paint brushes and paint sponges I recommend using:

Painter’s Tape
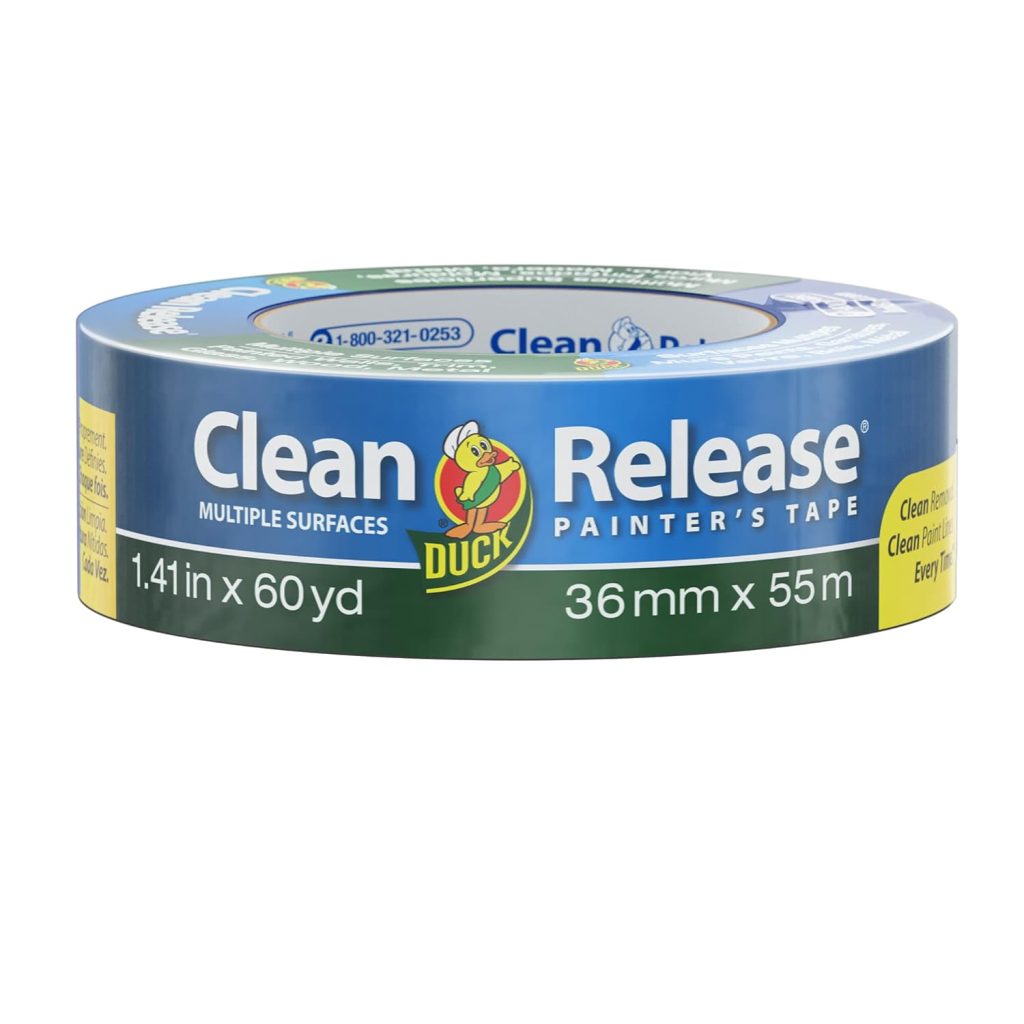
The painter’s tape will keep your stencils in place and will help prevent paint bleeding through. You can also get creative with it and use it as a stencil to create stripes or other shapes and patterns.
Flex Seal Clear Spray
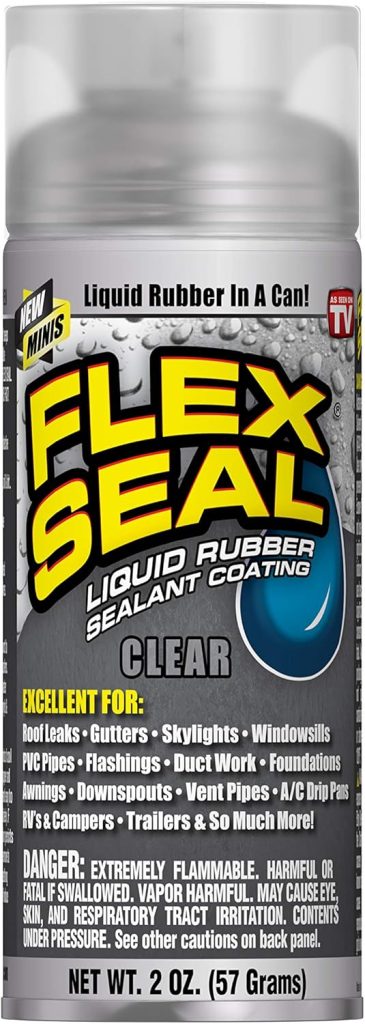
Don’t skip this step! Once your design is dry, finish it off with a coat of Flex Seal Clear Spray to protect your doormat and keep it looking fresh all season long.
2. Let’s Make Your DIY Doormat!
It’s time to put those supplies you bought to use! Here is how you do it:
Prep Your Space
Prepping your space is so important. Lay your mat on a flat surface, like a table or the ground, and clear your surroundings. Make sure you have enough space for your doormat, paint, and brushes.
Get some water cups in case you plan on using multiple colors, so you can clean your brush. Also, grab some paper towels to dry off the brushes and to clean up any other messes.
If you are working on a table, remove anything you wouldn’t want to get paint on, and protect the table with a garbage bag, old tablecloth, or drop cloth.
Lay Out Your Design
Now for the fun part! You should have your space prepped, so now it is time to lay out your design. If you are using stencils, put them in place, and if you are freehanding, lightly sketch it with a Sharpie marker. Before you start drawing with the Sharpie, make sure you have your placement correct. If you really want to get precise, you can get a ruler and use painter’s tape to map everything out before you fully commit. It’s also not a bad idea to practice drawing on a piece of paper first, so you don’t mess up on your doormat.
Once you’re happy with the layout, tape everything down with painter’s tape so it doesn’t shift around while you paint.
Time To Paint!
Get a paper plate for your paint and get your paint brushes ready! I recommend using a larger paint brush and a sponge brush for filling in larger areas, and a thin brush for any fine details like lettering or outlining.
Because the mat’s texture is so rough, you’ll want to dab the paint on instead of brushing it. Don’t be afraid to go heavy on the paint. Just make sure you apply it evenly and in layers to build the color up.
I found that when I made my doormat, my design looked so much cleaner and polished when I painted a black outline around my design. I highly recommend trying this!
If you really wanted to, you could also use spray paint for an even finish. Just be sure you use pieces of scrap cardboard to cover the areas that you don’t want painted, so you can protect your design. Just be cautious of bleeding when using this.
Spray A Clear Sealant
You did it! You finished your doormat. Once your masterpiece is dry, give it a good spray with Clear Flex Seal. This will protect your doormat and make it last all season long. Once it’s sprayed, you are ready to display your work of art at your doorstep!
3. Style Your Fall Door Mat
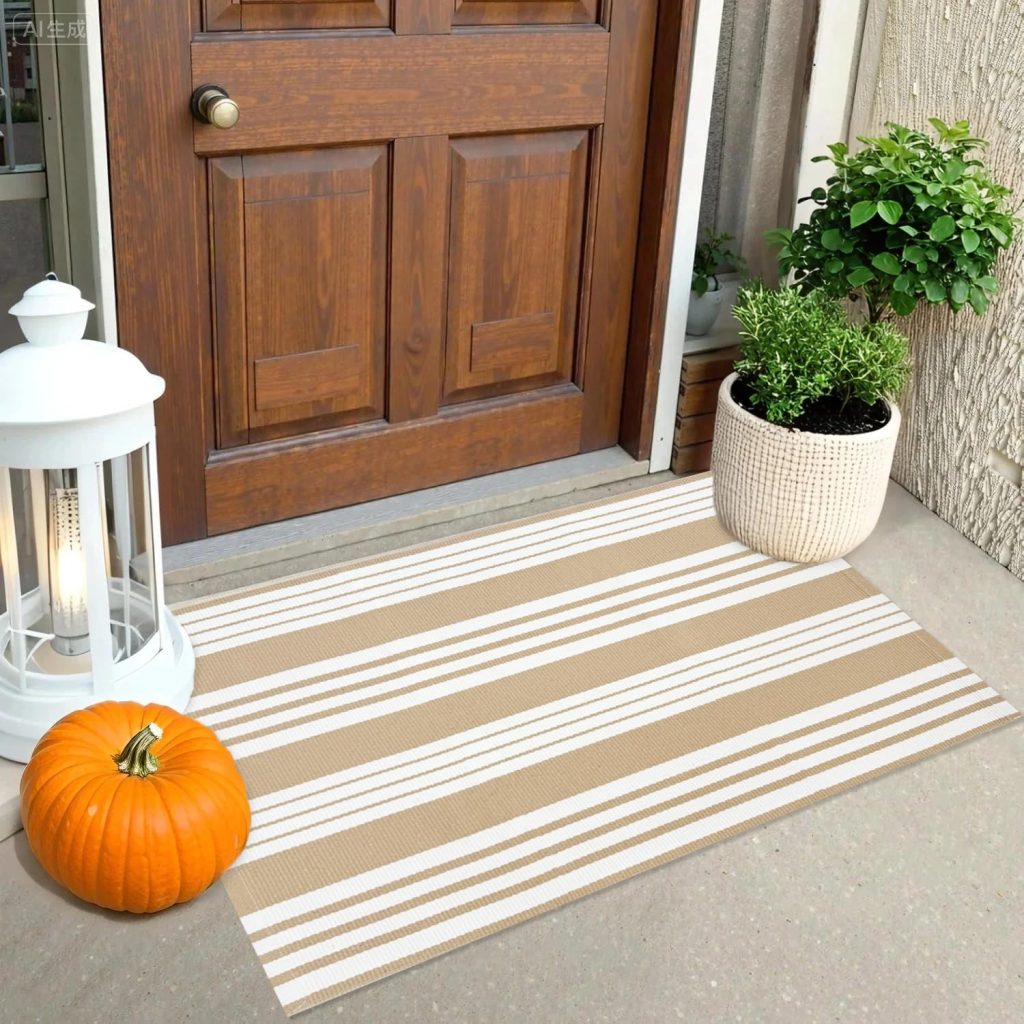
Now the best part…styling it! I found these gorgeous fall front porch styling ideas on Pinterest to inspire you. The beauty of this craft is that it’s so versatile. You can switch up the decor around your mat each year without having to make a new one (unless you want to, of course 😉 ).
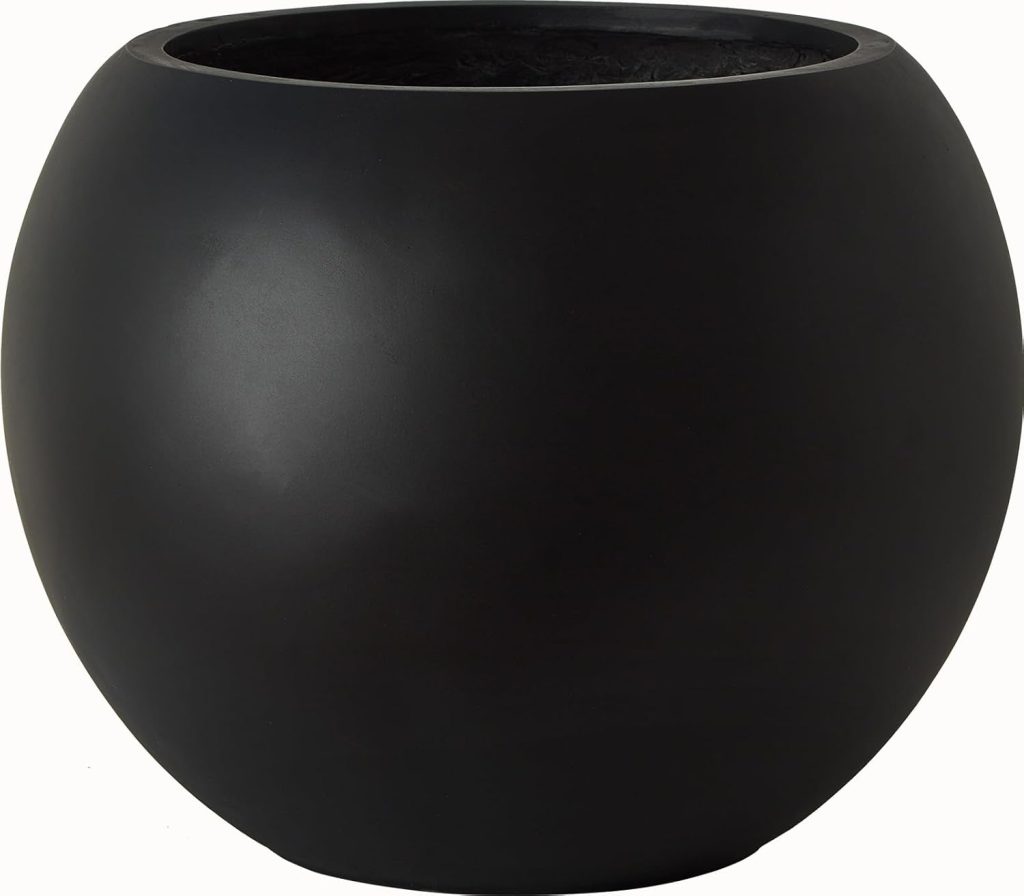
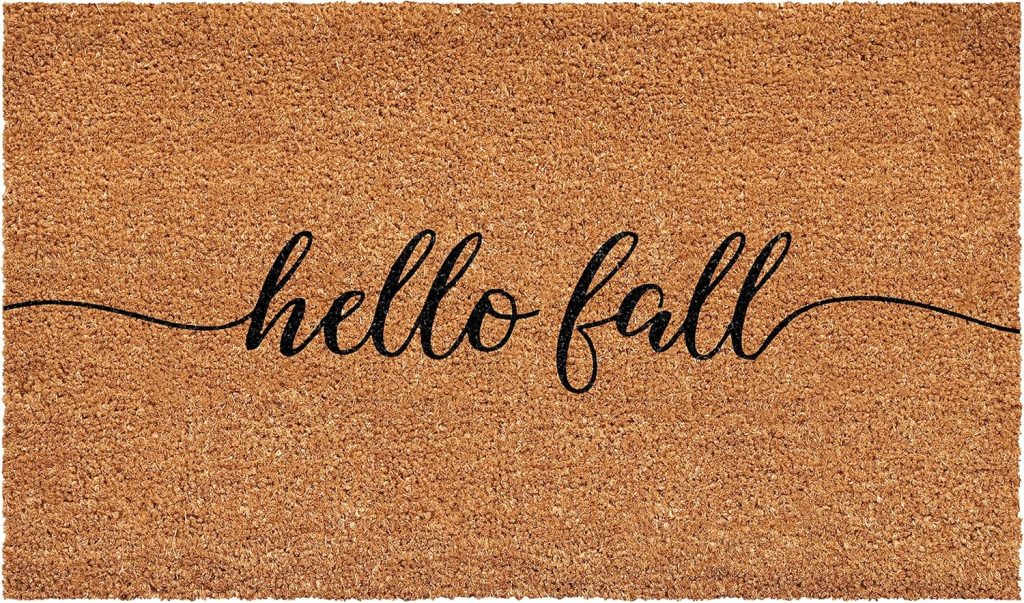
Check out these looks and shop the products below to create a similar look of your own!
Look #1
Shop The Look


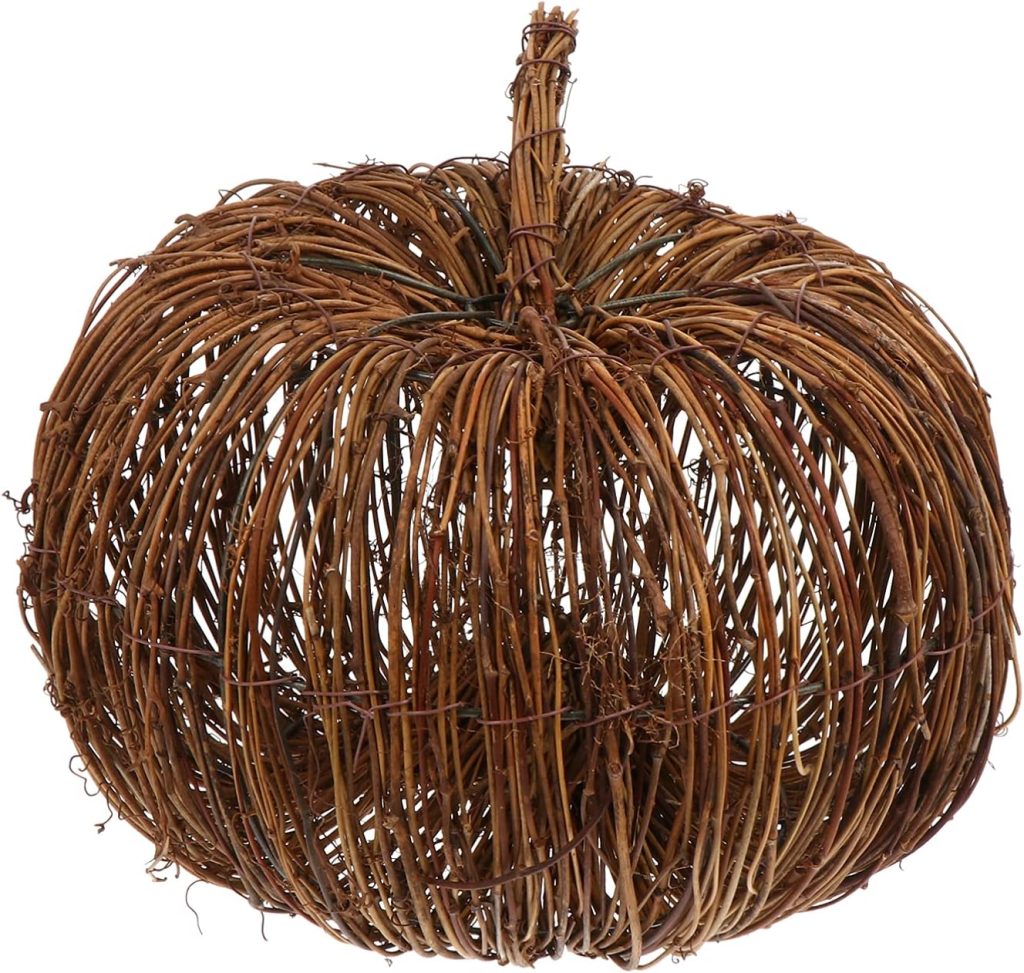
Look #2
Shop The Look
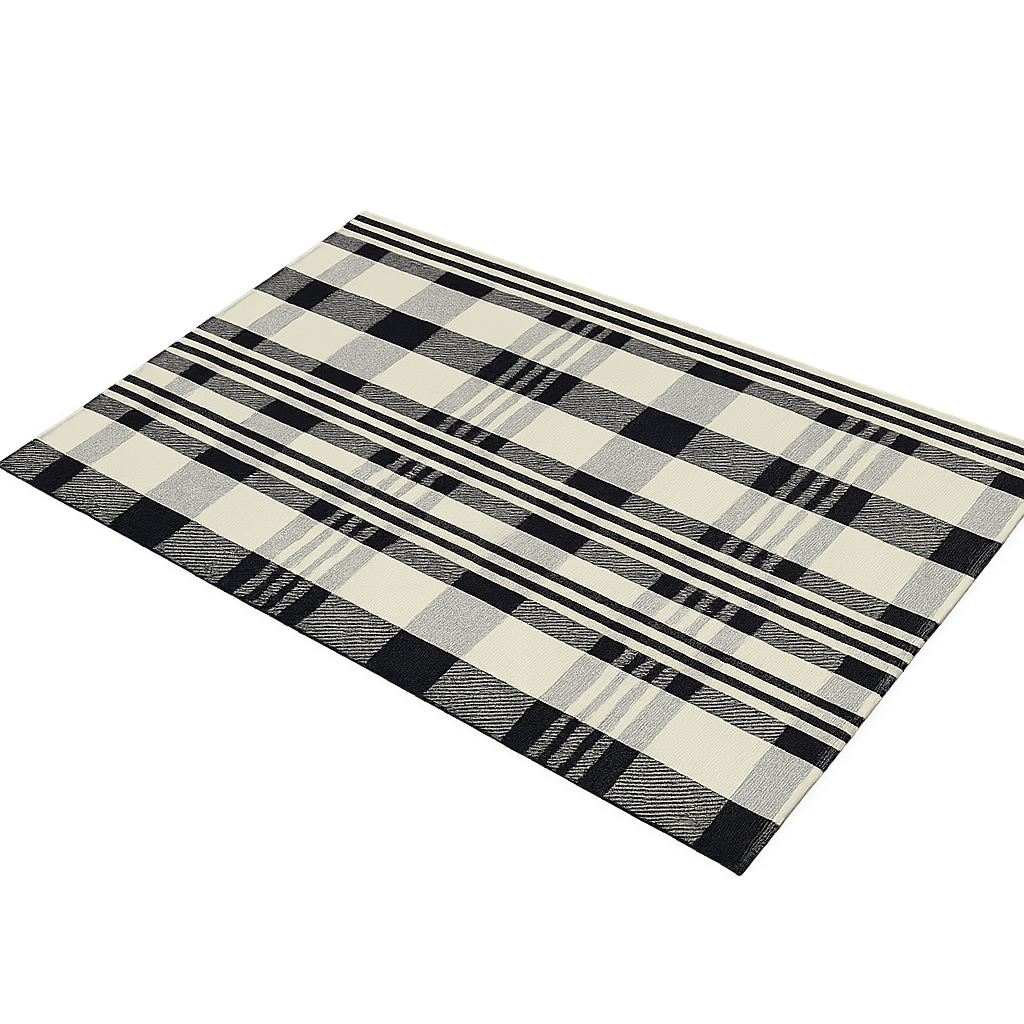

Look #3
Shop The Look
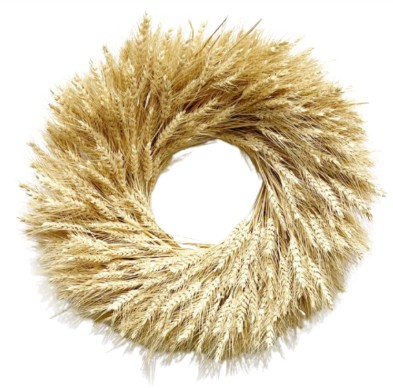
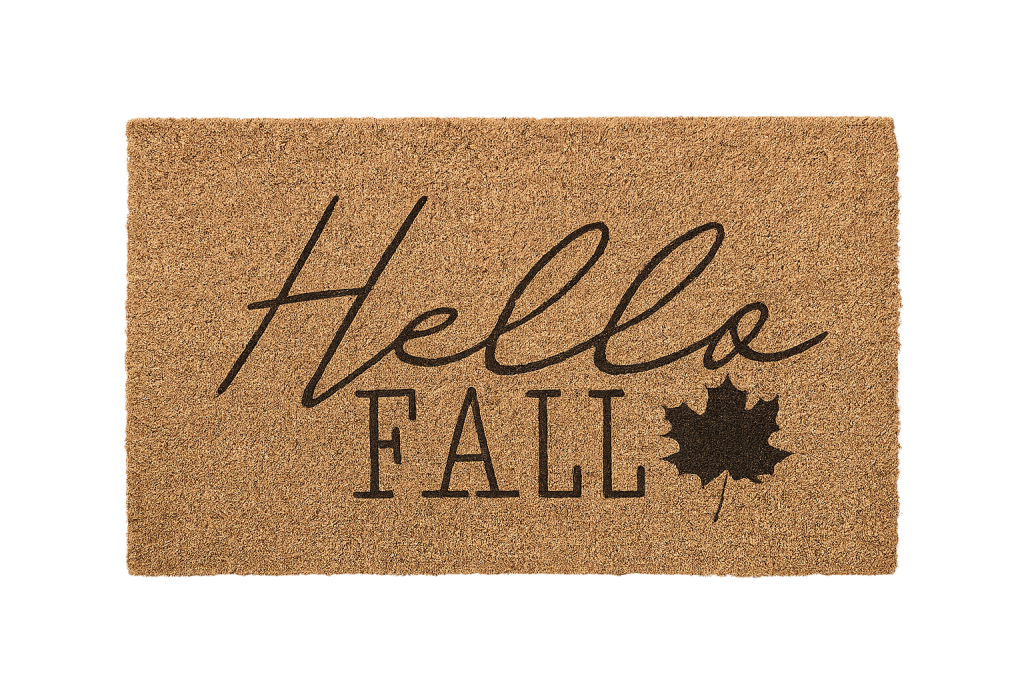
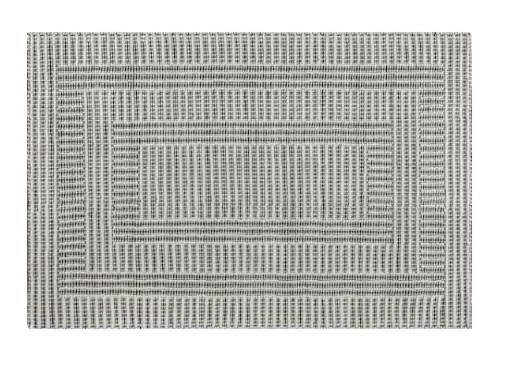
I hope this easy DIY inspired you to make your own doormat this fall season!